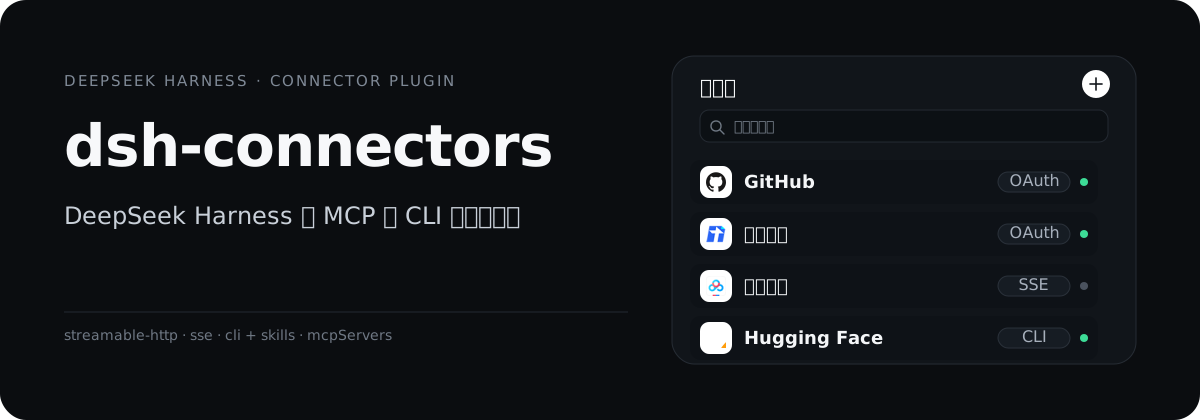
dsh-connectors 是 DeepSeek Harness 的「连接器」面板。内置 27 个 MCP 连接器和 6 个 CLI 连接器(钉钉、飞书、腾讯会议、企业微信、Hugging Face、Agent Mail)。OAuth 在浏览器里完成,凭据只保存在本机;连上后就能在对话里调用这些工具。
## 架构
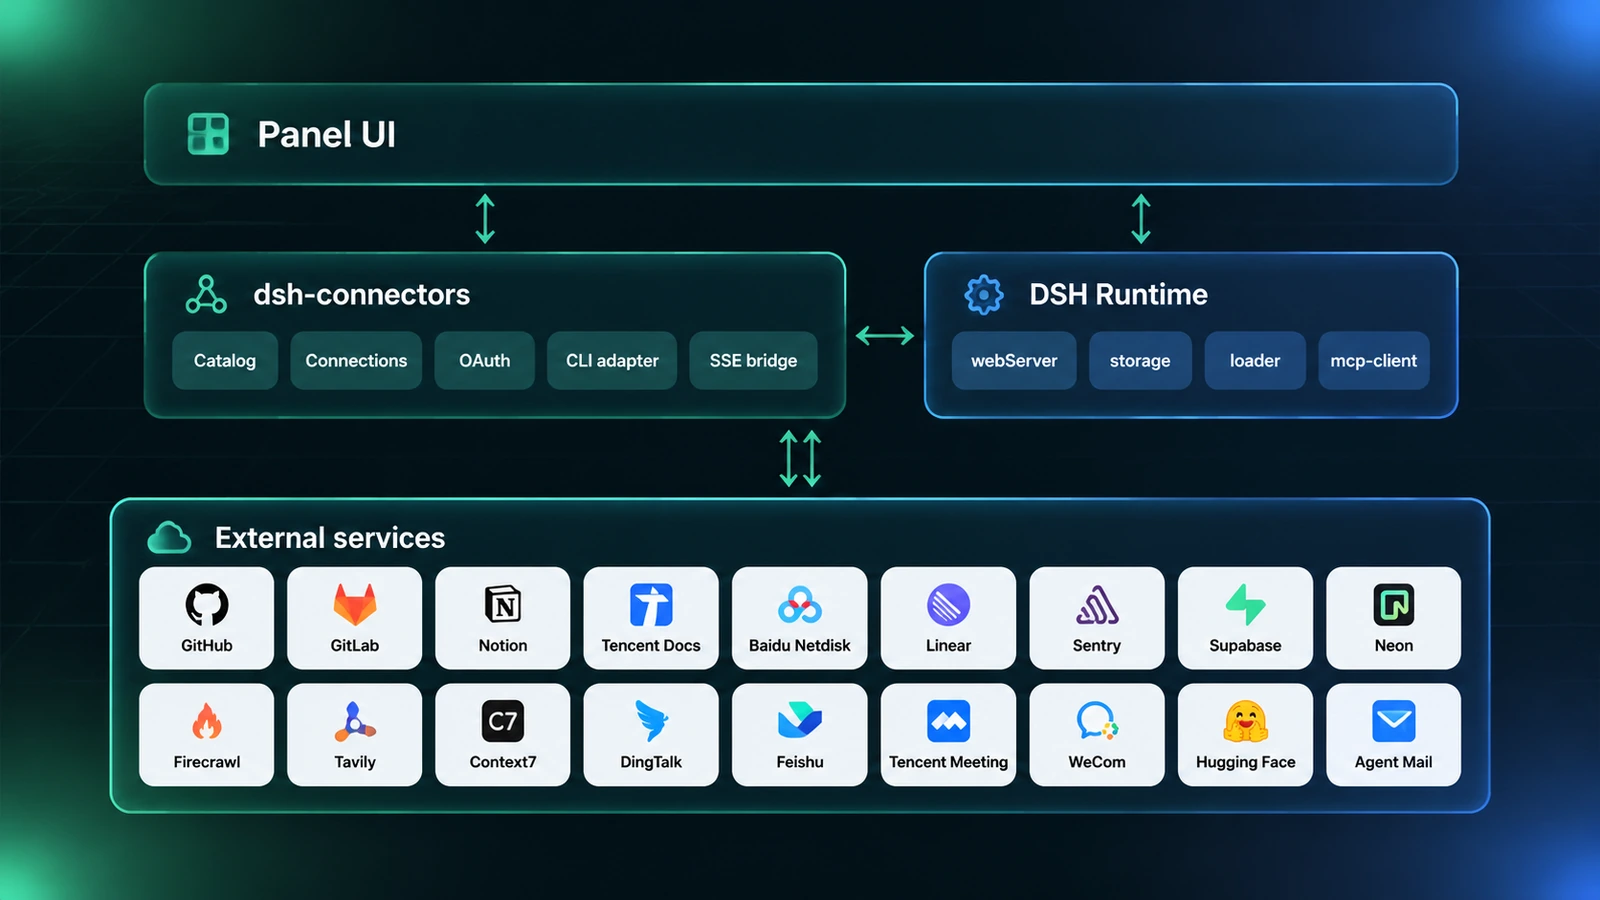
- 面板通过 `/dsh-connectors/api/*` 调插件宿主,不在浏览器里保存任何令牌。
- 插件宿主把连接配置写成 `dsh-mcp-client` 的 loader 条目,由 DSH 负责连接、注册工具与断线恢复。
- 三种外部通道:MCP(Streamable HTTP)、旧版 MCP(SSE 桥)、CLI + Skills;OAuth 授权在系统浏览器完成,回调由宿主接收。
## 界面与演示
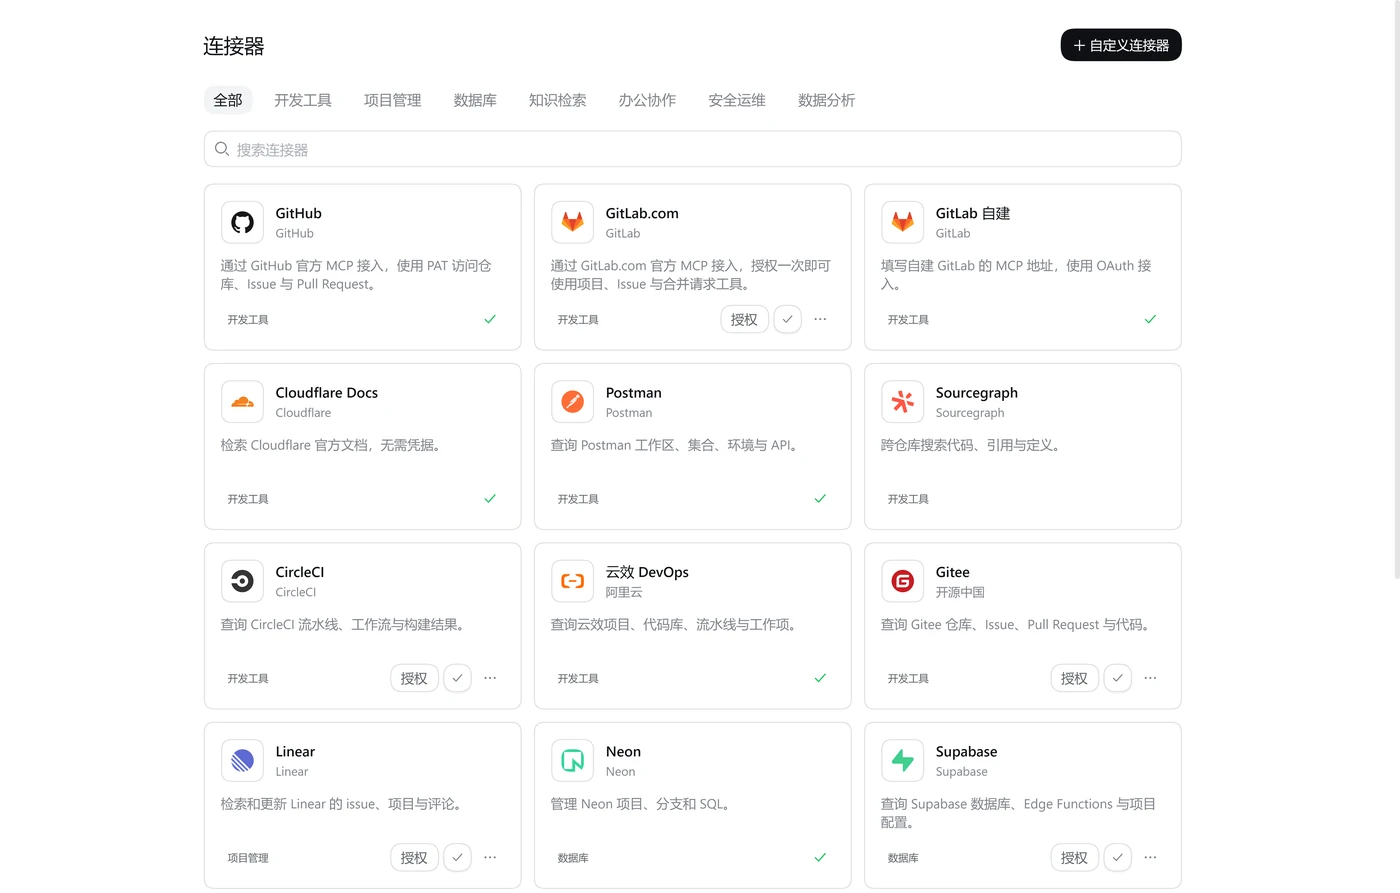
按分类浏览、搜索,点卡片右下角的加号安装。
## 主要能力
- **OAuth 在浏览器里完成**:DCR + PKCE,令牌过期前自动刷新;也支持 GitLab 自建、企查查数据域这类需要填写地址的服务。
- **Token 和自定义地址**:需要 API Key 的服务用独立令牌弹窗;自建服务填写完整的 MCP 地址,地址只保存在本机。
- **CLI 连接的登录和更新也在面板里**:钉钉、飞书、腾讯会议、企业微信、Hugging Face、Agent Mail 通过官方 CLI 工作;安装、登录、更新、卸载都在面板里完成。
- **SSE 服务也能接入**:插件内置 stdio 桥,把只提供 SSE 的 MCP Server 转接给 `dsh-mcp-client`;百度网盘用的就是这种方式。
- **自定义 `mcpServers`**:粘贴标准 JSON,支持 Streamable HTTP、SSE 与 stdio;内网 / localhost 地址需要二次确认;描述、分类显示名和示例可以同时填写中英文。
- **Provider 只包含数据**:新增连接器就是加一个 `provider.json`,不用改核心代码,也没有厂商分支。
- **跟随 DSH 语言**:面板、目录文案与 CLI 能力说明跟随设置里的中英文切换,切换后即时生效。
- **凭据留在本机**:连接记录、令牌和 OAuth 客户端信息由宿主保管,接口不回传,日志脱敏。
## 内置连接器目录
插件内置 27 个 MCP provider 和 6 个 CLI 连接器。下面的分类表只统计 MCP;CLI 单独一行,自定义连接器不计入。
| 分类 | 连接器 |
| --- | --- |
| 开发工具 | GitHub、GitLab、GitLab 自建、Gitee、Postman、CircleCI、云效、Sourcegraph、Cloudflare Docs |
| 知识检索 | Context7、Microsoft Learn、DeepWiki、Firecrawl、Tavily、腾讯元宝搜索、高德地图 |
| 办公协作 | Notion、腾讯文档、百度网盘 |
| 数据分析 | PostHog、天眼查、企查查 |
| 安全运维 | Sentry、Grafana |
| 数据库 | Neon、Supabase |
| 项目管理 | Linear |
| CLI | 钉钉、飞书、腾讯会议、企业微信、Hugging Face、Agent Mail |
按认证方式统计:OAuth 2.0 16 个,API Key / Token 6 个,无需凭据 5 个,CLI + Skills 6 个。
| 认证方式 | 工作方式 | 代表连接器 |
| --- | --- | --- |
| OAuth 2.0(DCR + PKCE) | 浏览器授权,令牌过期前自动刷新 | GitLab、Notion、Firecrawl、腾讯文档 |
| API Key / Token | 在令牌弹窗粘贴 Key,按 Bearer 头发送 | GitHub、Grafana、百度网盘 |
| 无需凭据 | 卡片不要求凭据,安装后直接连接 | Context7、Microsoft Learn、DeepWiki |
| CLI + Skills | 调用厂商 CLI;登录、更新、卸载在面板里,不走远程 MCP | 钉钉、飞书、Hugging Face |
## 安装
要求:Node `^22.19.0 || >=24.0.0`,DeepSeek Harness `>=0.2.0-rc.2 <0.3.0`。
### DSH Desktop
打开「设置 → 插件」或插件页的「添加插件」,输入包名 `@double-coding/dsh-connectors`(也支持 GitHub 仓库地址或本地目录),按提示安装。
Desktop 的 profile 由应用管理。从终端装到 `web` 等其它 profile 不会出现在 Desktop 里;安装完成后完全退出并重新启动 Desktop。
### dsh web
```bash
dsh plugin --profile web add @double-coding/dsh-connectors
```
`web` 是默认的 Web profile。如果你自定义过 profile,把 `web` 换成宿主实际加载的名称:
```bash
dsh plugin --profile add @double-coding/dsh-connectors
```
装完先停掉原来的 `dsh web` 进程再启动;只刷新网页不会加载后端插件。
从源码安装
```bash
npm install
npm run build
dsh plugin --profile add link:.
```
`` 同样换成实际 profile;装完按上面的方式重启。
### 打开面板
重启后侧栏出现「连接器」。选一个连接器,点卡片右下角的加号,按提示完成授权或粘贴令牌。
## 添加内置 Provider
内置 provider 是纯数据,放在 `providers//provider.json`,图标可选(`icon.svg` / `icon.png` / `icon.webp`)。
```bash
npm run provider:new -- acme --auth bearer --name "Acme"
```
```json
{
"$schema": "../../schema/provider.schema.json",
"schemaVersion": 1,
"id": "acme",
"name": "Acme",
"category": "开发工具",
"summary": "一句话说明这个连接器能做什么。",
"examples": ["用 Acme 查一下最近的构建"],
"server": {
"serverName": "acme",
"transport": "streamable-http",
"url": "https://mcp.example.com/mcp"
},
"auth": { "type": "bearer", "label": "Acme API Key" }
}
```
编辑完成后运行:
```bash
npm run check
```
契约校验、auth 类型、OAuth 注册方式和 PR 检查清单见 [CONTRIBUTING.md](./CONTRIBUTING.md) 与 [provider.schema.json](./schema/provider.schema.json)。provider 不允许携带可执行代码;确需本地 stdio 或内网地址时,用面板里的「自定义连接器」。
## 安全与边界
- 单用户、本机运行:没有后端、没有遥测,连接记录与凭据只存在本机。
- 令牌与 OAuth 刷新凭据只在宿主侧使用,接口不回传,错误日志会脱敏。
- 第三方服务的授权范围、配额与条款由对应厂商负责;内置目录只声明地址与认证方式。
- SSE 桥只转接工具调用;例如百度网盘的 SSE 模式不包含本地上传。
## 参与贡献
新增官方 MCP provider、修 bug 或改文档,都可以提 PR。加 provider 前先读 [CONTRIBUTING.md](./CONTRIBUTING.md)。
## License
[MIT](./LICENSE)



