
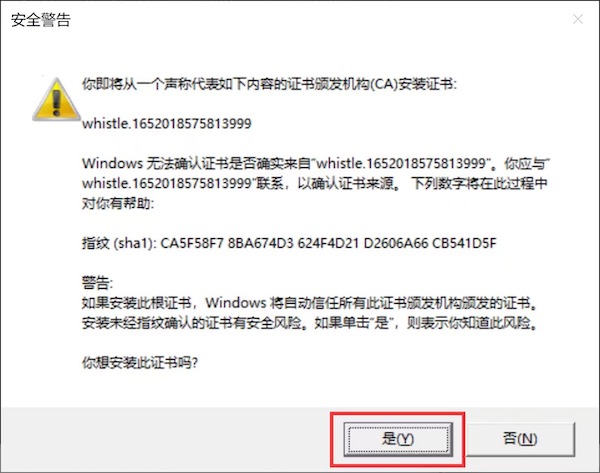
 * Windows 需要最后点击 “是(Y)” 确认
 如果需要自定义代理配置或根证书(如设置其它代理,根证书或代理白名单等)可以通过以下命令实现:
1. `w2 proxy` 设置系统全局代理:https://wproxy.org/whistle/proxy.html
2. `w2 ca` 设置系统根证书:https://wproxy.org/whistle/proxy.html
也可以用下面 **手动安装** 方式。
### 手动安装
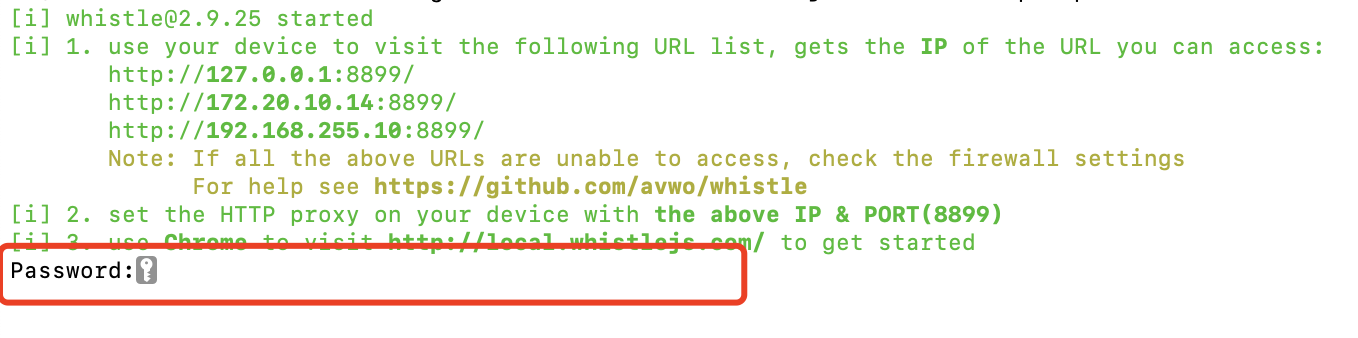
非 Mac & Windows 系统或一键安装失败可以按下面方式设置代理和安装根证书:
1. 设置代理:https://wproxy.org/whistle/install.html
2. 安装根证书:https://wproxy.org/whistle/webui/https.html
# 快速上手
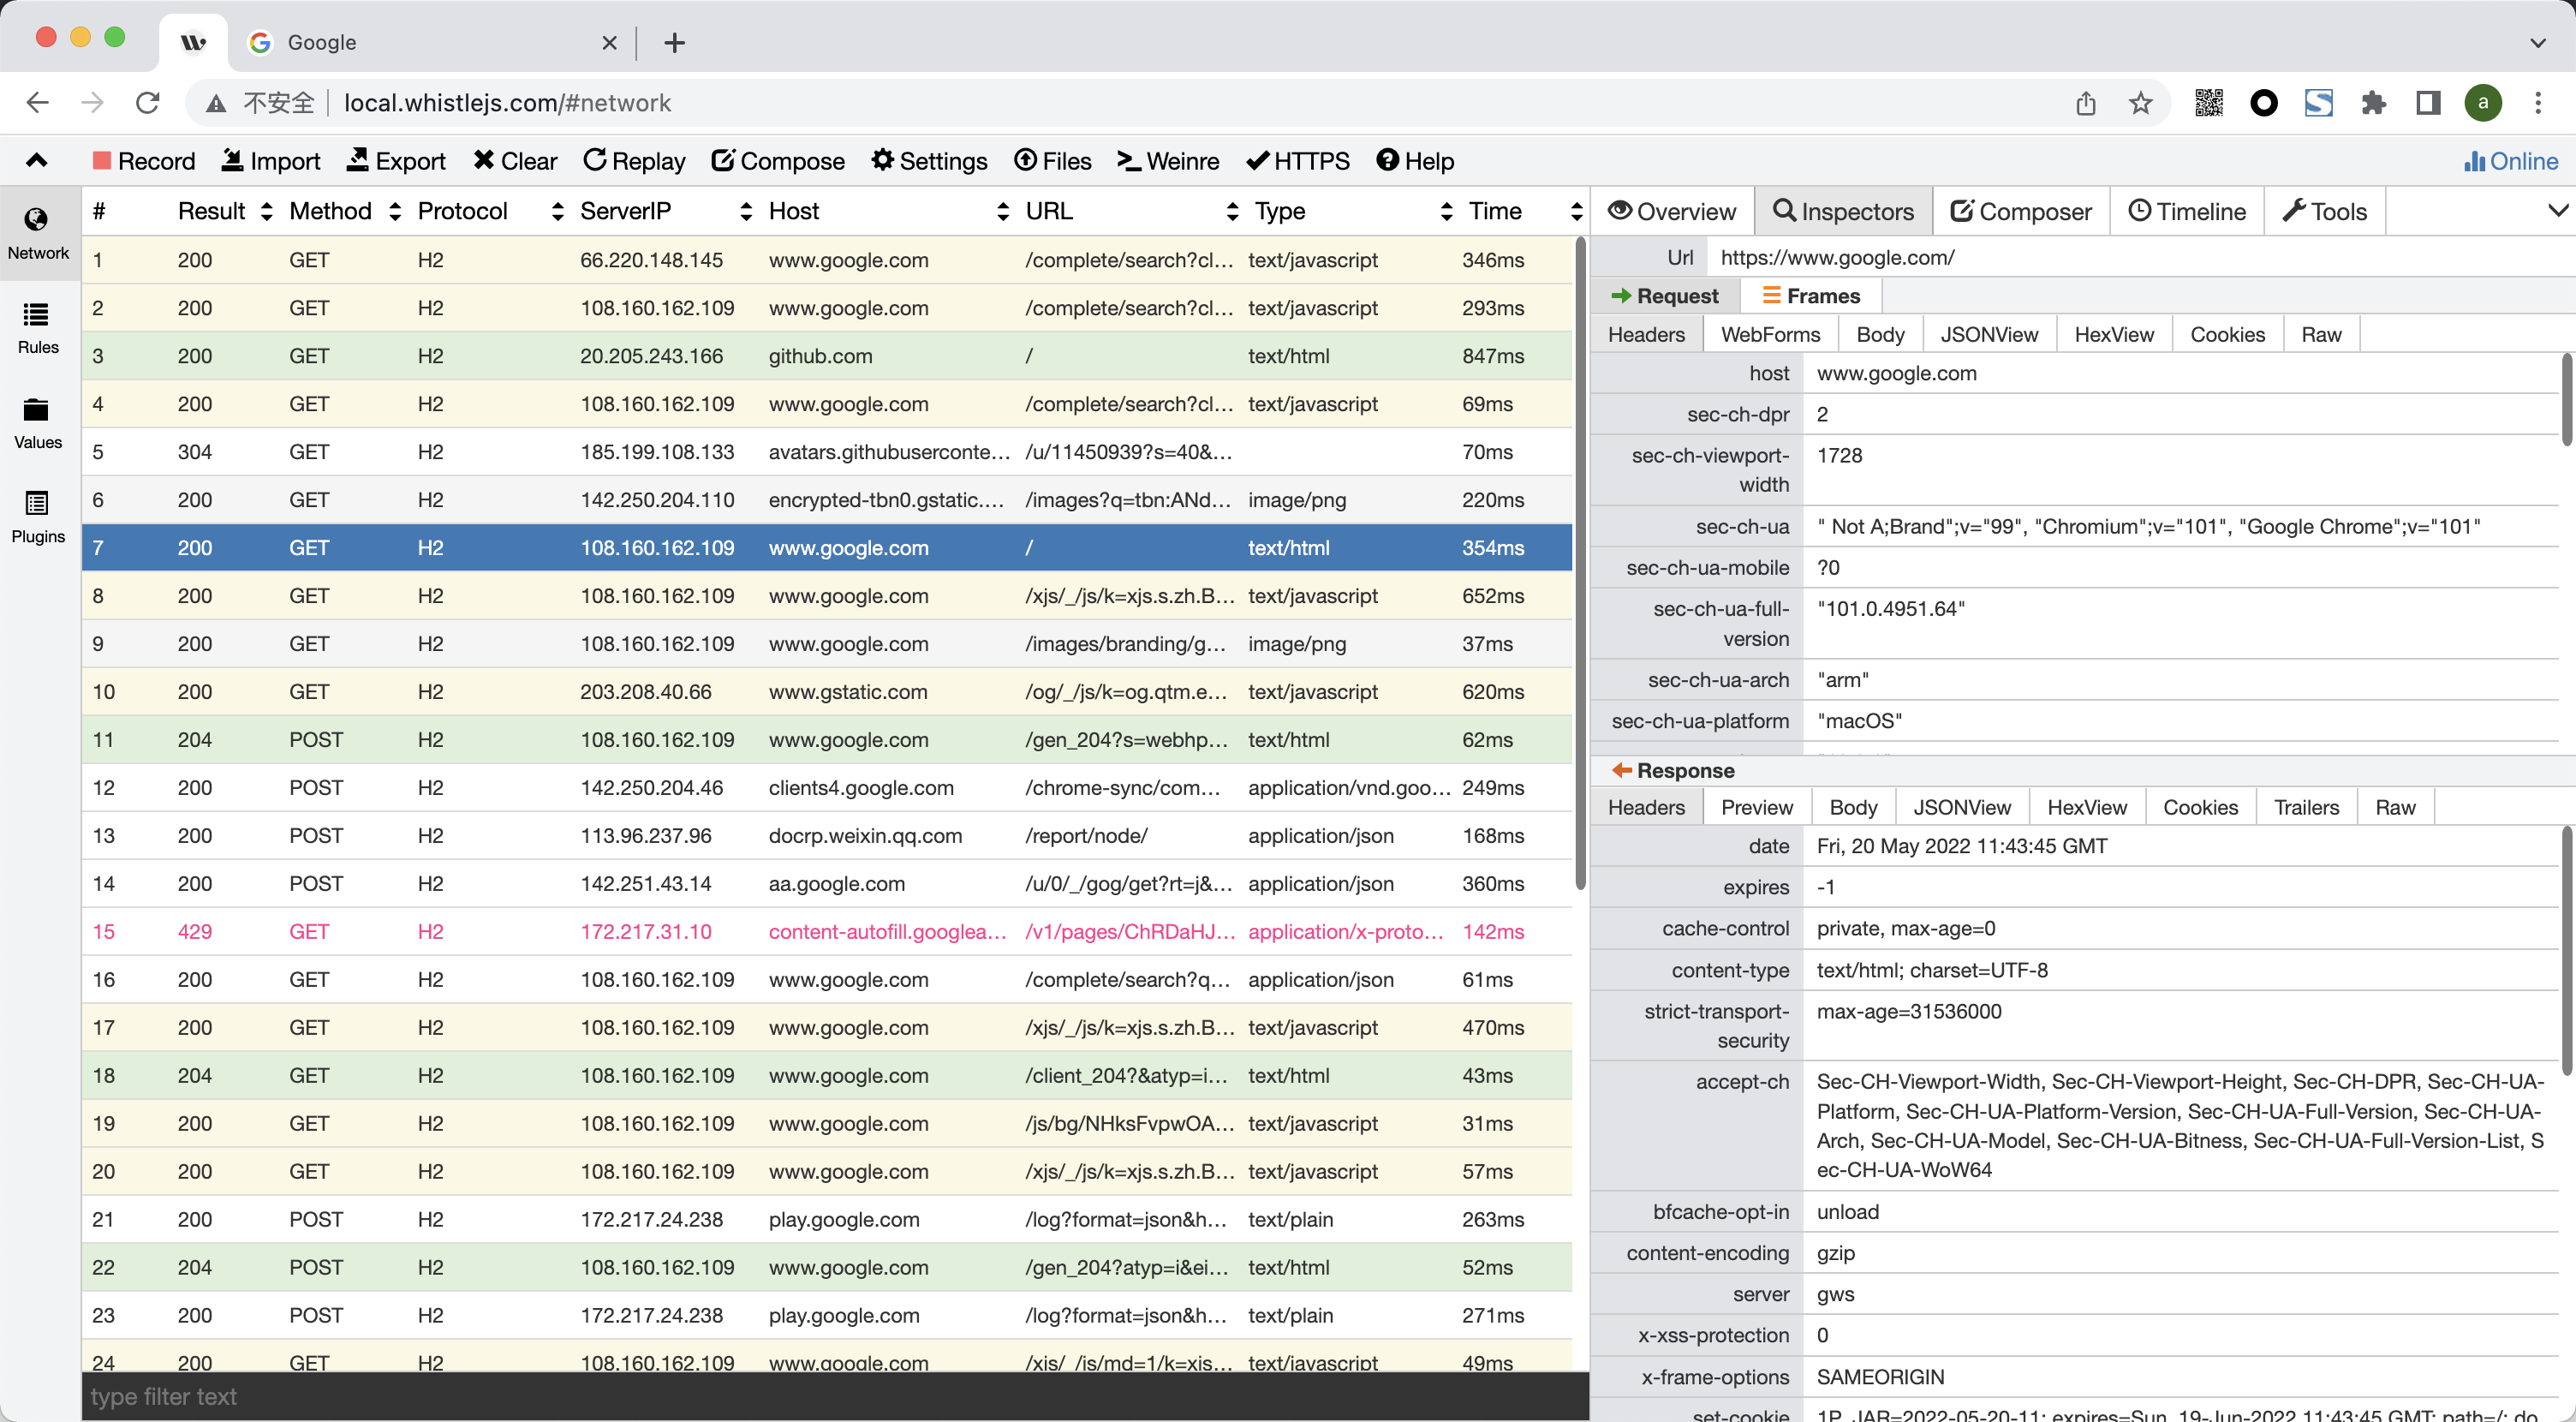
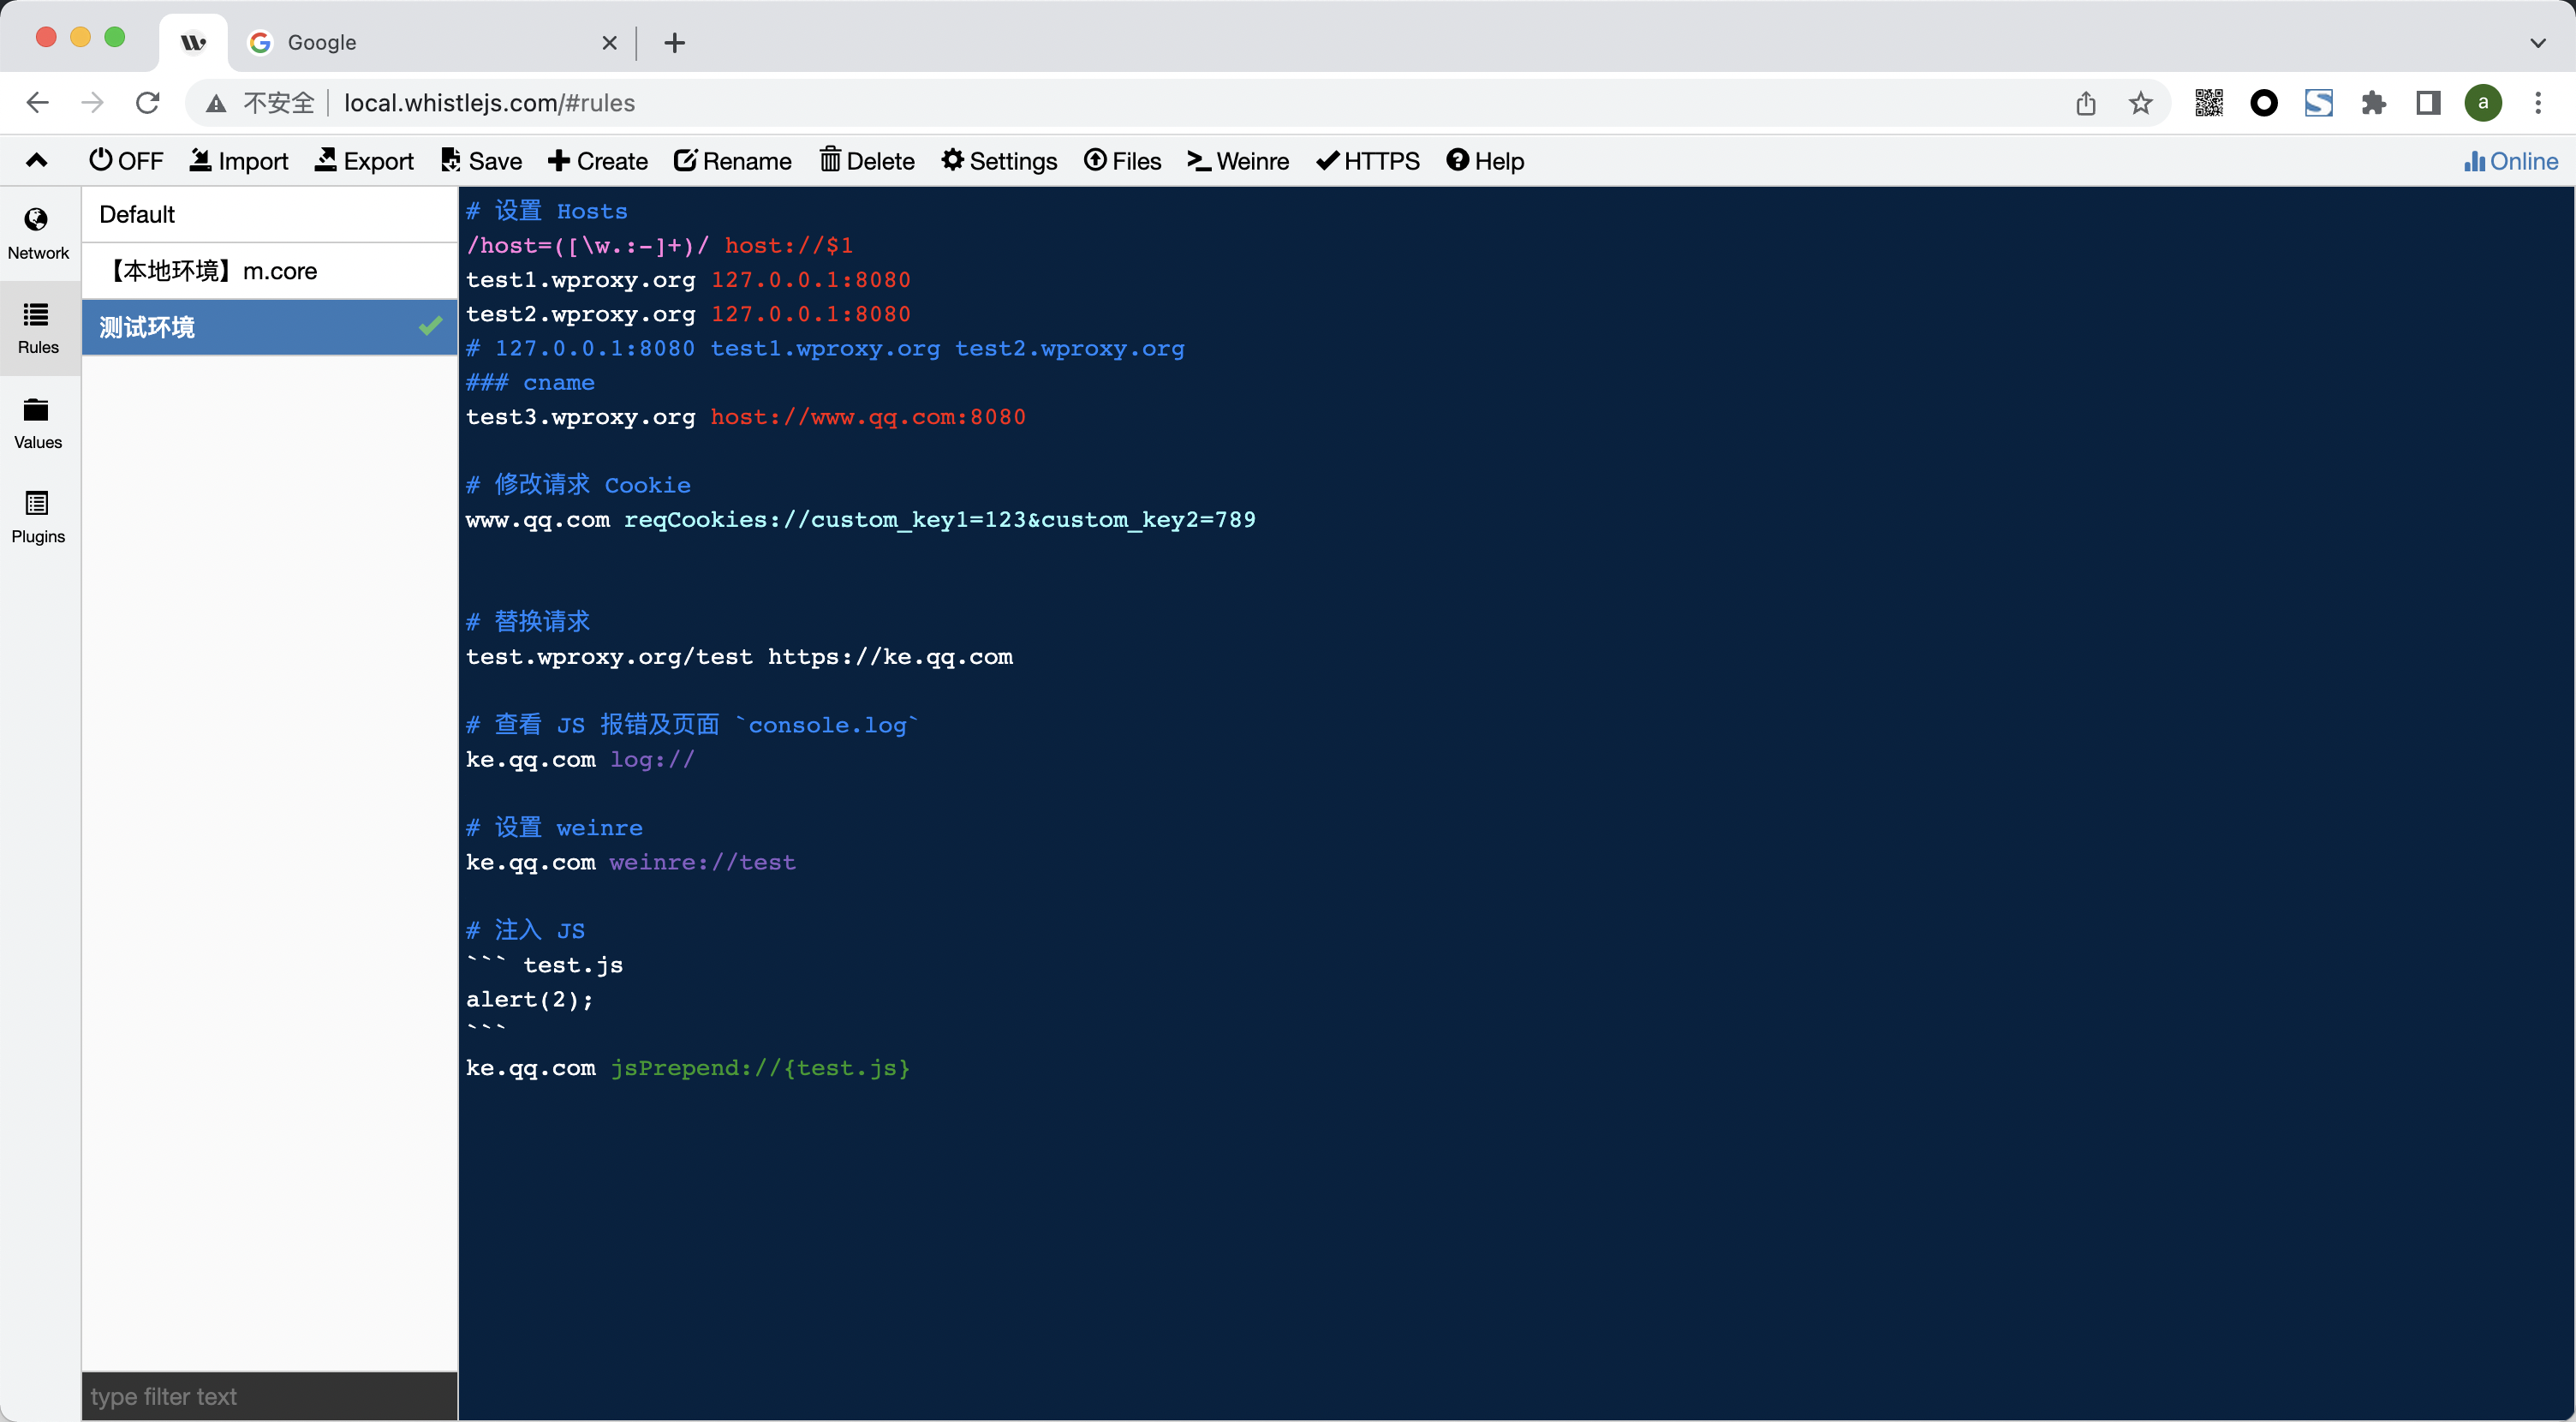
安装成功后,用 Chrome 打开链接 http://local.whistlejs.com 即可看到 Whistle 的抓包配置界面:
如果需要自定义代理配置或根证书(如设置其它代理,根证书或代理白名单等)可以通过以下命令实现:
1. `w2 proxy` 设置系统全局代理:https://wproxy.org/whistle/proxy.html
2. `w2 ca` 设置系统根证书:https://wproxy.org/whistle/proxy.html
也可以用下面 **手动安装** 方式。
### 手动安装
非 Mac & Windows 系统或一键安装失败可以按下面方式设置代理和安装根证书:
1. 设置代理:https://wproxy.org/whistle/install.html
2. 安装根证书:https://wproxy.org/whistle/webui/https.html
# 快速上手
安装成功后,用 Chrome 打开链接 http://local.whistlejs.com 即可看到 Whistle 的抓包配置界面:
 ### 详细用法参见:[Whistle 帮助文档](https://wproxy.org/whistle/quickstart.html)
# 通过 SwitchyOmega 设置代理
全局代理如果会影响到某些客户端的请求(客户端设置了 ssl pinning),也可以使用 Chrome 插件设置代理(只对 Chrome 生效):
> 可以通过 `w2 proxy off` 关闭全局代理
1. 设置 Whistle 代理
### 详细用法参见:[Whistle 帮助文档](https://wproxy.org/whistle/quickstart.html)
# 通过 SwitchyOmega 设置代理
全局代理如果会影响到某些客户端的请求(客户端设置了 ssl pinning),也可以使用 Chrome 插件设置代理(只对 Chrome 生效):
> 可以通过 `w2 proxy off` 关闭全局代理
1. 设置 Whistle 代理
 2. 选择 Whistle 代理
 # License
[MIT](./LICENSE)
# License
[MIT](./LICENSE)