---
sidebar_position: 4
title: 开发微前端
---
本章将把[中后台项目](/docs/start/admin),改造成一个微前端项目。本章对应的代码仓库地址在[这里查看](https://github.com/modern-js-dev/modern-js-examples/tree/main/quick-start/micro-frontend)。
通过本章你可以了解到:
- 如何创建微前端项目的主应用、子应用。
- 微前端项目开发的基本流程。
- 如何调试微前端项目。
## 创建
首先我们先创建三个应用:
- main 主应用
- dashboard 子应用
- table 子应用
### 创建 main 主应用
使用 `@modern-js/create` 创建新项目,运行命令如下:
```bash
npx @modern-js/create main
```
:::info 注
main 为创建的项目名。
:::
按照如下选择,生成项目:
```bash
? 请选择你想创建的工程类型: 应用
? 请选择开发语言: TS
? 请选择包管理工具: pnpm
? 是否需要支持以下类型应用: 不需要
? 是否需要调整默认配置: 否
```
使用 `pnpm new` 选择 `「开启微前端」`
配置 `modern.config.js`:
```js title="modern.config.js"
export default defineConfig({
runtime: {
router: true,
state: true,
masterApp: {
manifest: {
modules: [
{
name: 'Dashboard',
entry: 'http://localhost:8081',
},
{
name: 'TableList',
entry: 'http://localhost:8082',
},
],
},
},
},
});
```
### 创建 dashboard 子应用
使用 `@modern-js/create` 创建新项目,运行命令如下:
```bash
npx @modern-js/create dashboard
```
:::info 注
dashboard 为创建的项目名。
:::
按照如下选择,生成项目:
```bash
? 请选择你想创建的工程类型: 应用
? 请选择开发语言: TS
? 请选择包管理工具: pnpm
? 是否需要支持以下类型应用: 不需要
? 是否需要调整默认配置: 否
```
使用 `pnpm new` 选择 `「开启微前端」`
配置 `modern.config.js`:
```js title="modern.config.js"
export default defineConfig({
runtime: {
router: true,
state: true,
},
deploy: {
microFrontend: true,
},
});
```
### 创建 table 子应用
使用 `@modern-js/create` 创建新项目,运行命令如下:
```bash
npx @modern-js/create table
```
:::info 注
table 为创建的项目名。
:::
按照如下选择,生成项目:
```bash
? 请选择你想创建的工程类型: 应用
? 请选择开发语言: TS
? 请选择包管理工具: pnpm
? 是否需要支持以下类型应用: 不需要
? 是否需要调整默认配置: 否
```
使用 `pnpm new` 选择 `「开启微前端」`
配置 `modern.config.js`:
```js title="modern.config.js"
export default defineConfig({
runtime: {
router: true,
state: true,
},
deploy: {
microFrontend: true,
},
});
```
## 迁移代码
### main
修改 `App.tsx`:
```tsx
import { Switch, Route, Link } from '@modern-js/runtime/router';
import { useModuleApps } from '@modern-js/runtime';
import './App.css';
const App: React.FC = () => {
const { Dashboard, TableList } = useModuleApps();
return (
);
};
export default App;
```
### dashboard
修改 `App.tsx`:
```tsx
export default () => {
return Dashboard Page
;
};
```
### table
将[开发中后台](/docs/start/admin)中的 console 组件下的代码复制过来。
`console/tableList/models/tableList.tsx` ---> `src/models/tableList.tsx`
```tsx title=src/models/tableList.tsx
import { model } from '@modern-js/runtime/model';
type State = {
data: {
key: string;
name: string;
age: string;
country: string;
archived: boolean;
}[];
};
export default model('tableList').define({
state: {
data: [],
},
actions: {
load: {
fulfilled(state, payload) {
state.data = payload;
return state;
},
},
},
effects: {
async load() {
const data = (
await fetch(
'https://lf3-static.bytednsdoc.com/obj/eden-cn/beeh7uvzhq/users.json',
)
).json();
return data;
},
},
});
```
`console/tableList/index.tsx` ---> `src/App.tsx`
```tsx title=src/App.tsx
import React, { useEffect } from 'react';
import { Table } from 'antd';
import { useModel } from '@modern-js/runtime/model';
import tableListModel from './models/tableList';
const TableList: React.FC = () => {
const [{ data }, { load }] = useModel(tableListModel);
useEffect(() => {
load();
}, []);
const columns = [
{
title: 'Name',
dataIndex: 'name',
key: 'name',
},
{
title: 'Age',
dataIndex: 'age',
key: 'age',
},
{
title: 'Country',
dataIndex: 'country',
key: 'country',
},
];
return (
);
};
export default TableList;
```
## 调试
分别启动 **main**、**dashboard**、 **table**
- main - `http://localhost:8080`
- dashboard - `http://localhost:8081`
- table - `http://localhost:8082`
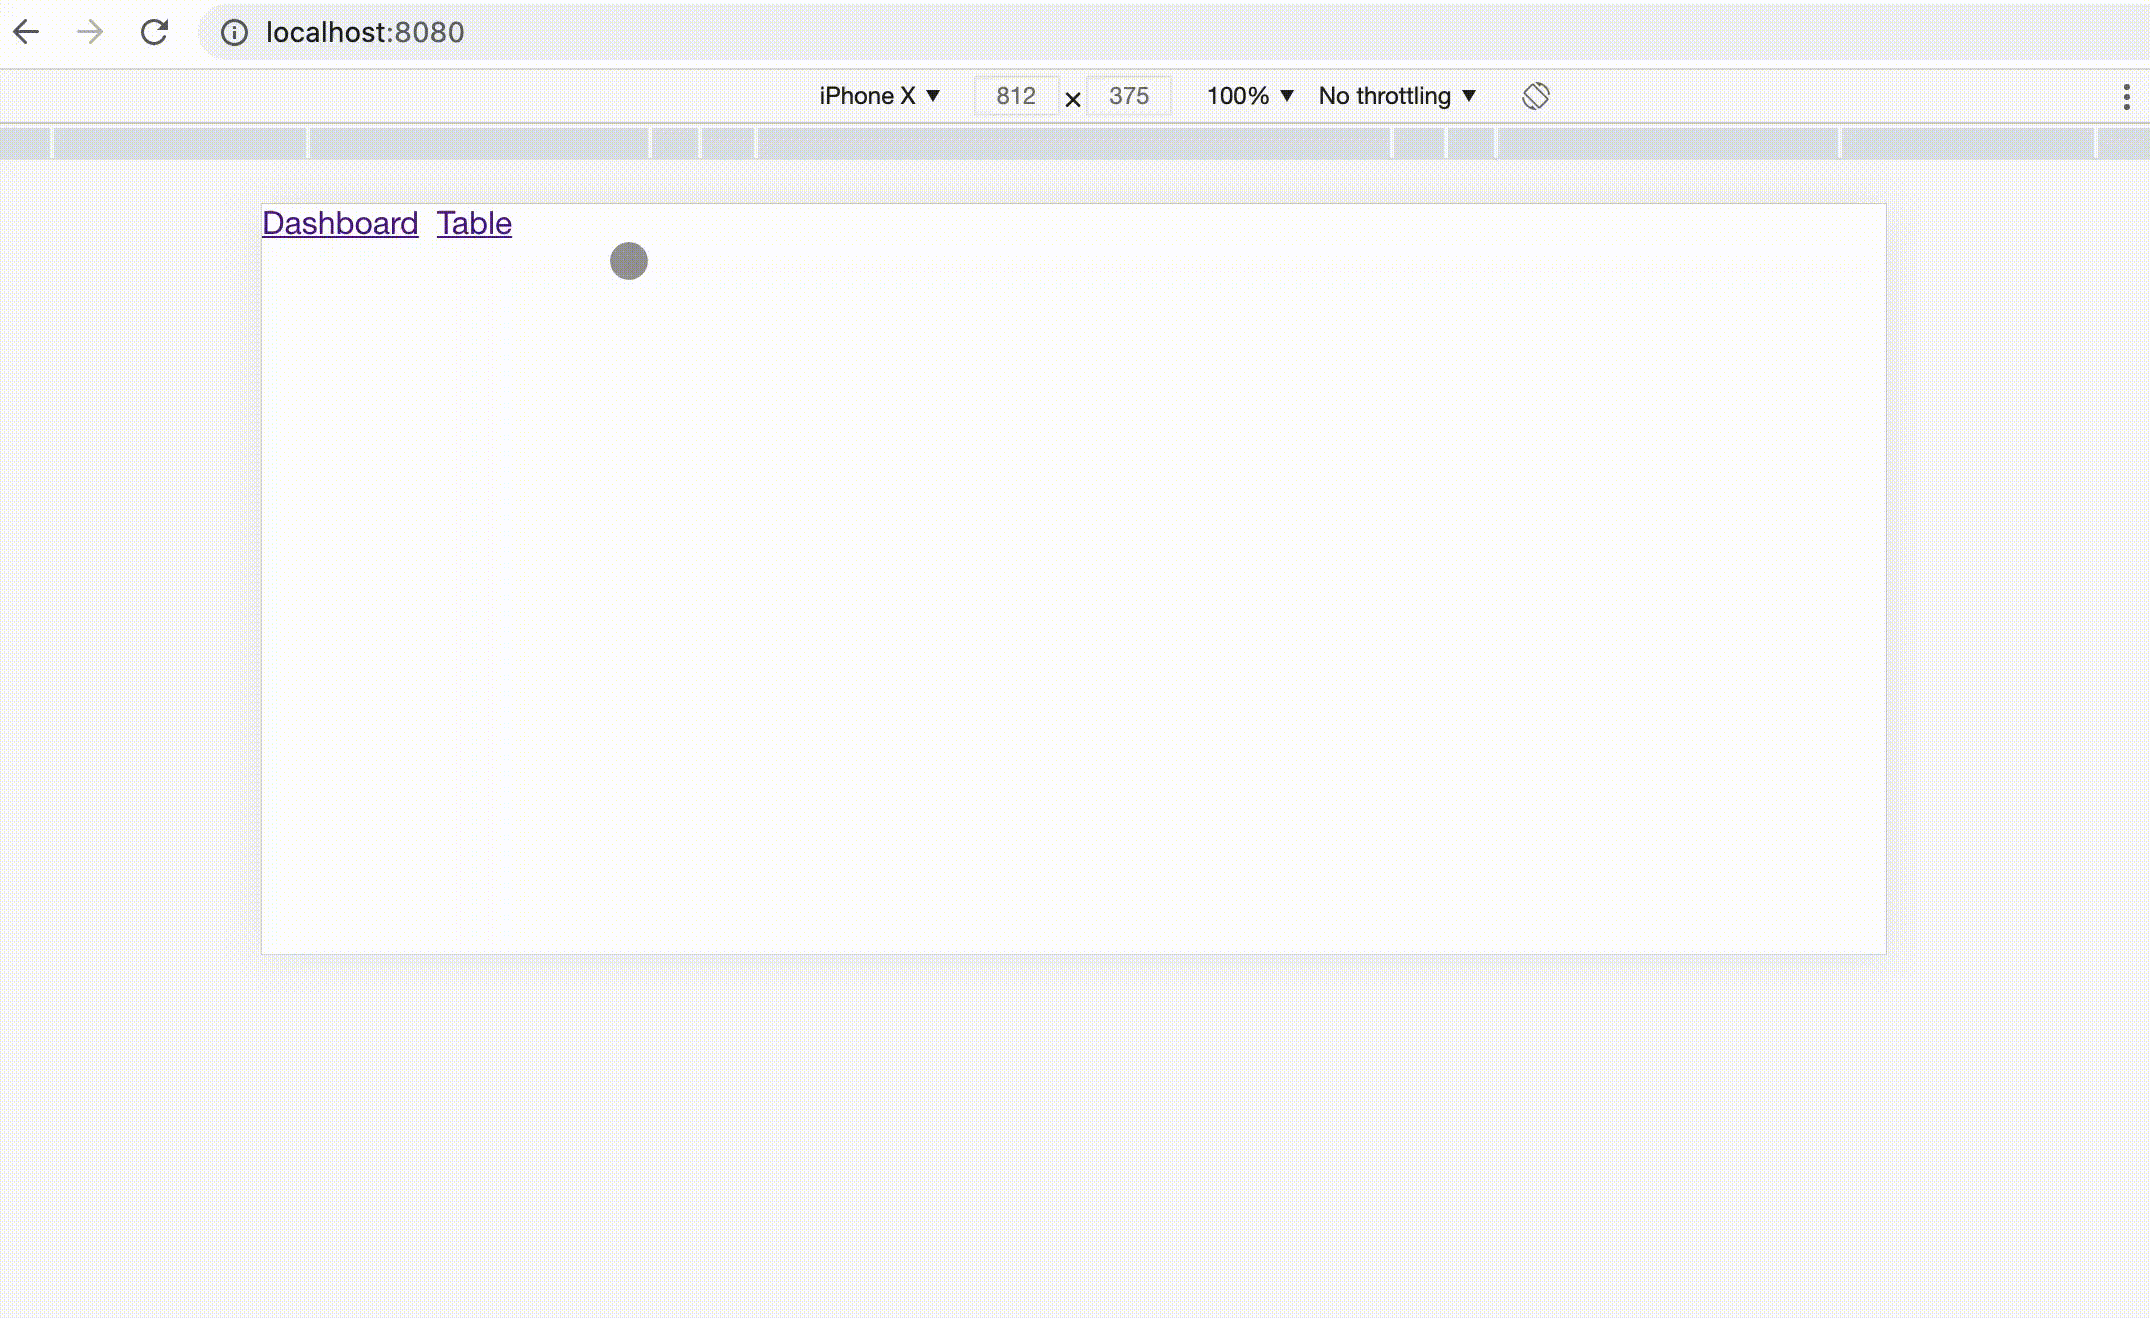
访问主应用地址 `http://localhost:8080`,效果如下:
## 微前端子应用模式
上面的调试演示需要在本地分别启动主应用、和子应用,作为独立负责大型项目中一个子应用开发的团队/个人来说,需要在本地启动庞大的主应用,以及可能需要启动其它相关子应用进行调试,使得开发体验降低。
Modern.js 中支持使用线上的主应用来调试本地子应用,首选需要配置主应用开启调试模式:
```js title="modern.config.js"
export default defineConfig({
runtime: {
// ...
},
server: {
enableMicroFrontendDebug: true,
},
});
```
配置 `server.enableMicroFrontendDebug` 为 `true` 开启线上调试模式。
假设主应用线上域名为 `http://master.example.com`,当前 `TableList` 服务启动在 `http://localhost:8082`
访问 `http://master.example.com?__debug__micro-frontend-module-name=TableList&__debug__micro-frontend-module-entry=http://localhost:8082`,在跳转到 `/table` 路由的时候,将会加载本地的子应用资源。
除了通过 Query 的方式传递子应用调试信息,Modern.js 也支持 Mock Header 的方式,更多信息请看 [微前端子应用调试](/docs/guides/features/micro-frontend/debugging)
## 部署
:::tip 提示
近期上线,敬请期待。
:::