# sanity-plugin-inline-svg
Inline SVG Upload and Preview for [Sanity](https://www.sanity.io/)
[](https://www.npmjs.com/package/sanity-plugin-inline-svg)
[](https://github.com/artemartemov/sanity-plugin-inline-svg-upload-preview/blob/master/LICENSE)
## Installing
In your Sanity studio folder, run:
```
sanity install sanity-plugin-inline-svg
```
## Features
- Upload SVG as string that gets injected as HTML into a preview container
- Use on arrays to build a group of inline SVGs
## Basic usage
**TL;DR:** Just use `type: 'svgUploadPreview'` on a field in your schema
**NOTE** Don't forget to import into your `schema.js` file:
```js
import svgUploadPreview from 'sanity-plugin-inline-svg';
```
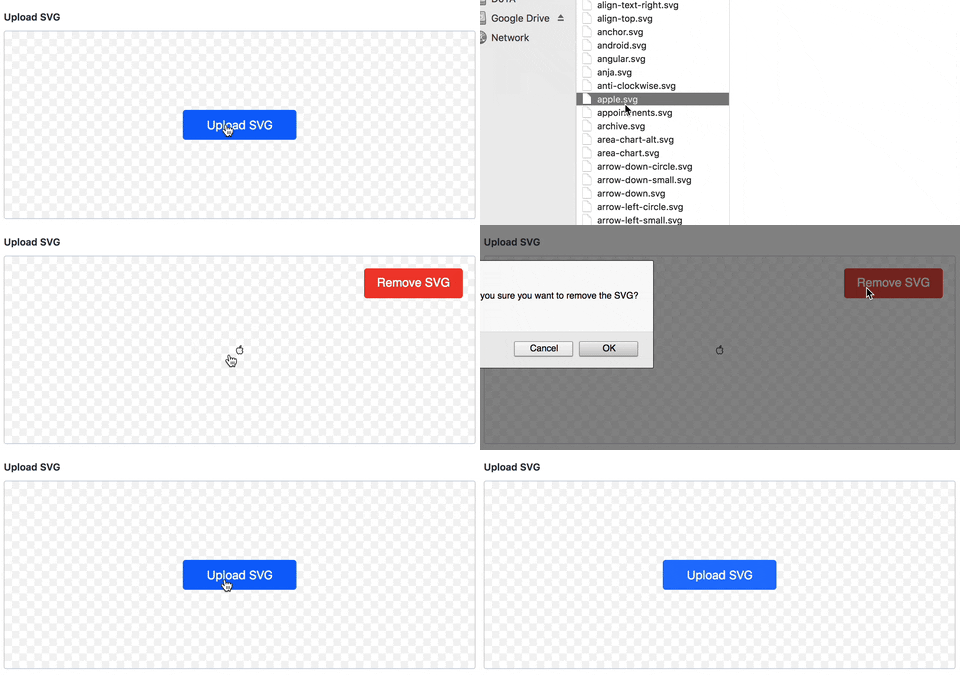
**Long version:** In your schema definitions (think `schemas/clientList.js`):
```js
export default {
name: 'clientList',
title: 'My Past Clients',
type: 'document',
fields: [
// ... other fields ...
{
name: 'svgUpload',
title: 'Upload SVG File',
type: 'svgUploadPreview',
}
]
}
```
**Within Array:**
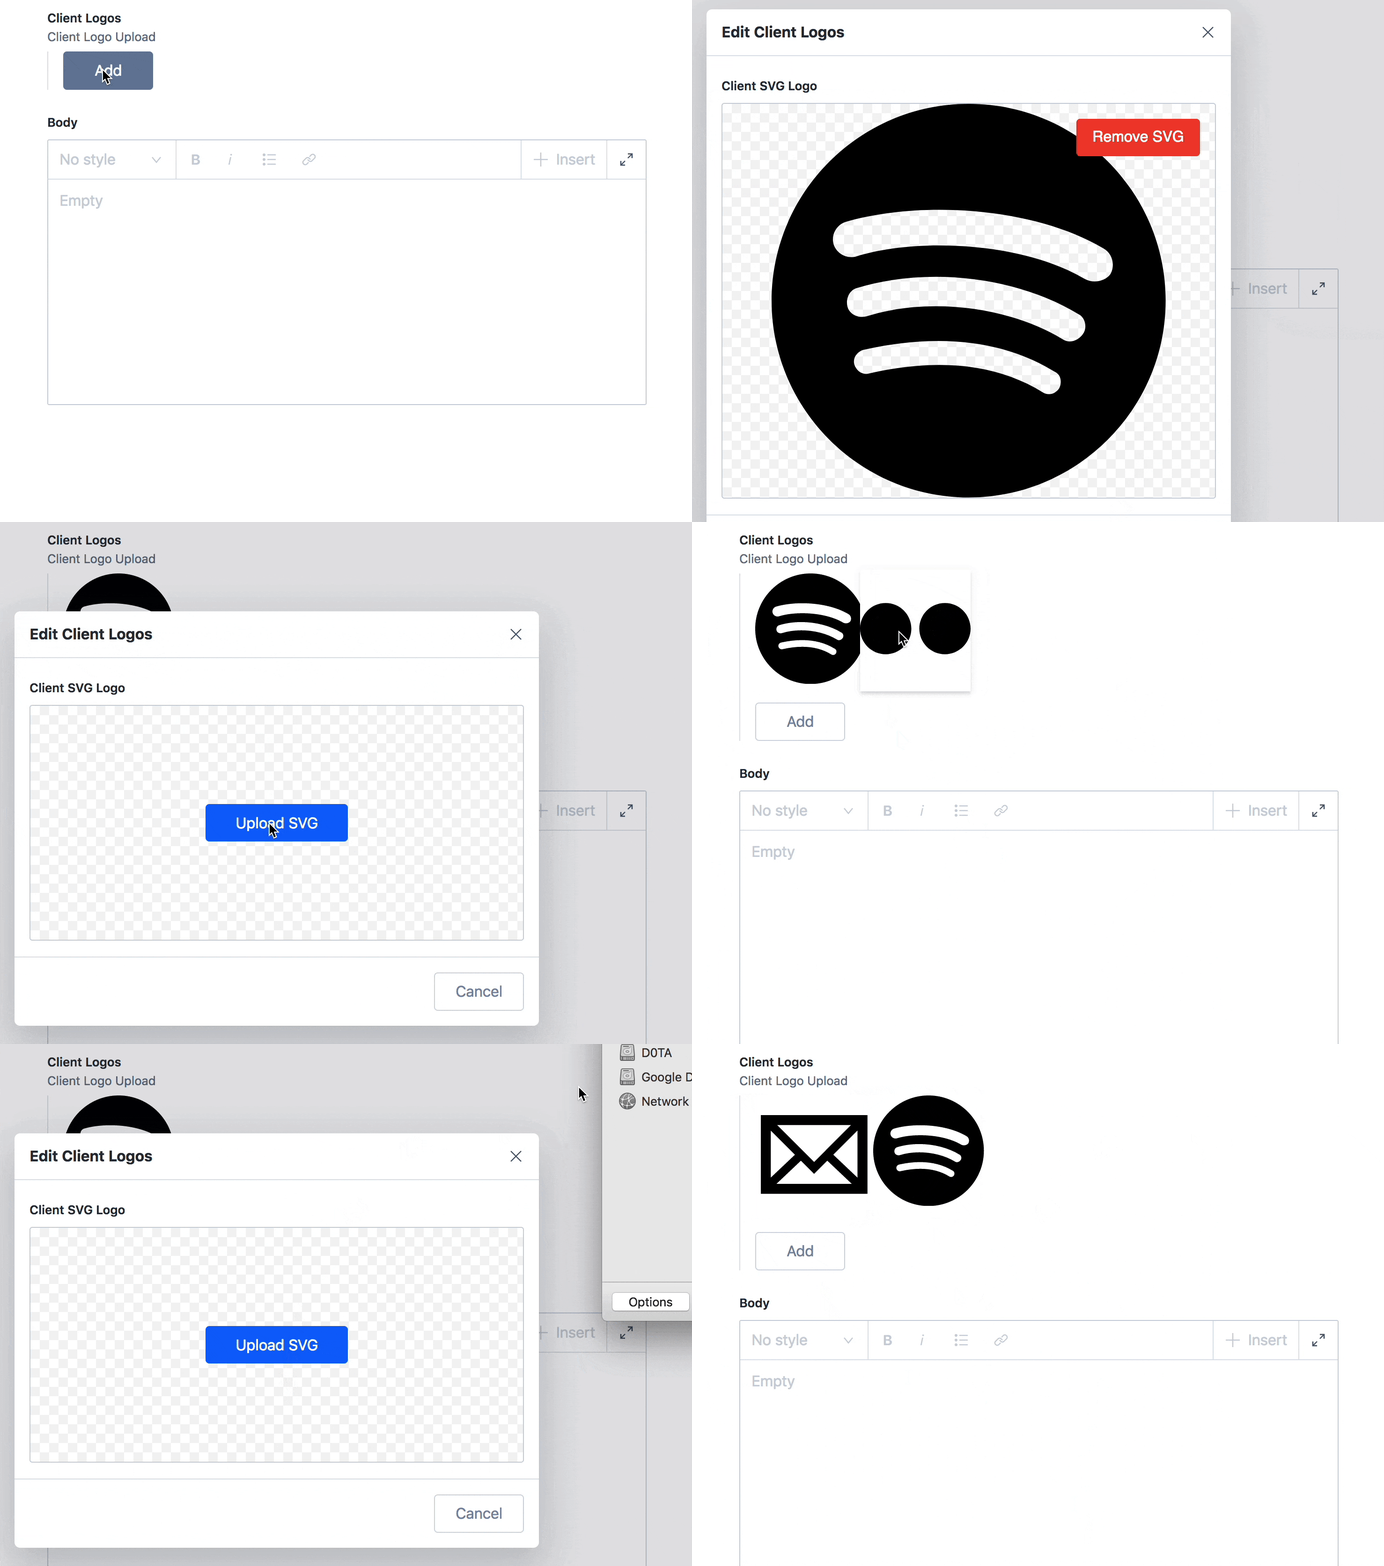
1. Create an object schema something like `schemas/svgUploadArray.js`
```js
import SvgPreviewComponent from './svgPreviewComponent';
export default {
type: 'object',
name: 'svgUpload',
title: 'Client Image Upload',
fields: [
{
type: '',
name: 'source',
title: 'Client SVG Logo',
},
],
preview: {
select: {
svgHtml: 'source',
},
component: SvgPreviewComponent,
},
};
```
2. Create a preview component for the array items `schemas/svgPreviewComponent.js`
```js
import React from 'react';
function SvgPreviewComponent({ value }) {
if (!value) {
return Please upload an svg image
;
}
return (
<>
);
}
export default SvgPreviewComponent;
```
3. In your schema definitions (think `schemas/clientList.js`):
```js
export default {
name: 'clientList',
title: 'My Past Clients',
type: 'document',
fields: [
// ... other fields ...
{
name: 'clientLogos',
type: 'array',
title: 'Client Logos',
description: 'Client Logo Upload',
options: {
layout: 'grid',
},
of: [
{
title: 'Client Logos',
type: 'svgUpload',
},
],
}
]
}
```
## Development
Clone down this repository and run the following commands at the root of this repository.
```
npm i
npm link
```
Now you can start developing the plugin.
To include it in your Sanity test site, navigate to the root folder of your cms project and run `npm link sanity-plugin-inline-svg`. You will now reference the local version of the when using `import svgUploadPreview from 'sanity-plugin-inline-svg'` in your schemas.
To debug the plugin files in you then need to run `sanity start --preserve-symlinks` in your cms project, and `npm run dev` in your sanity-plugin-inline-svg-upload-preview repository folder.
## TODO
- [ ] Allow styles to override
- [x] Move `Upload SVG` CTA to react component from css
- [x] ~Clean up some syntax~ sanitized svg on upload