# Multimodal
[]()
A plugin for [Reveal.js](https://revealjs.com) to show content in modal windows.
[](https://martinomagnifico.github.io/reveal.js-multimodal/demo/demo.html)
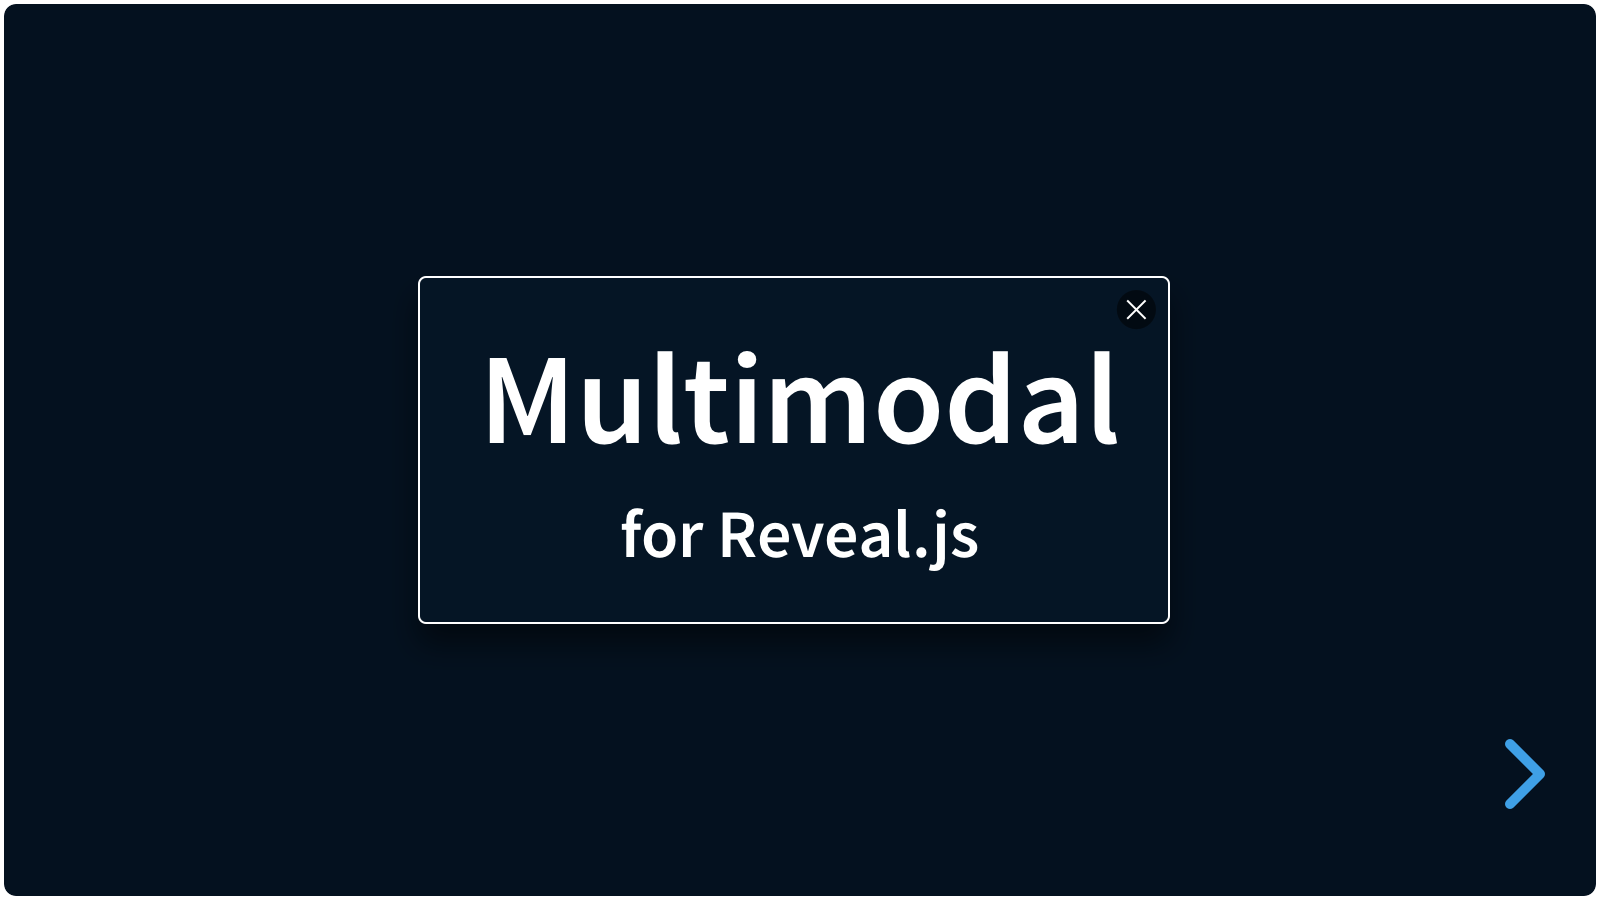
Multimodal can be used as a lightbox or actual modal to showcase images, video or HTML content from wihin a presentation. It can be triggered from text links, images, or buttons, or automatically when a slide is shown.
* [Demo](https://martinomagnifico.github.io/reveal.js-multimodal/demo/demo.html)
* [Markdown demo](https://martinomagnifico.github.io/reveal.js-multimodal/demo/demo-markdown.html)
## Basics
There are really only three steps:
1. Install Multimodal
2. Add the multimodal data-attributes to your links
2. Enjoy the modals
## Installation
### Regular installation
Copy the multimodal folder to the plugins folder of the reveal.js folder, like this: `plugin/multimodal`.
### npm installation
This plugin is published to, and can be installed from, npm.
```console
npm install reveal.js-multimodal
```
The Multimodal plugin folder can then be referenced from `node_modules/reveal.js-multimodal/plugin/multimodal`
## Setup
### JavaScript
There are two JavaScript files for Multimodal, a regular one, `multimodal.js`, and a module one, `multimodal.esm.js`. You only need one of them:
#### Regular
If you're not using ES modules, for example, to be able to run your presentation from the filesystem, you can add it like this:
```html
```
#### As a module
If you're using ES modules, you can add it like this:
```html
```
### Styling
The styling of Multimodal is automatically inserted from the included CSS styles, either loaded through NPM or from the plugin folder.
If you want to change the Multimodal style, you can do a lot of that via the Reveal.js options. Or you can simply make your own style and use that stylesheet instead.
#### Where the stylesheet comes from
Multimodal finds and loads its own stylesheet, so most decks never set anything here. If it cannot find it, maybe because the plugin is in a bundle, or it is somewhere the plugin cannot work out, then use `csspath`.
```js
multimodal: {
csspath: "plugin/multimodal/multimodal.css"
}
```
If you import the stylesheet yourself, then set `csspath: false` so that Multimodal does not load a second copy. A stylesheet of your own can also say so, which is useful when you cannot reach the plugin’s options:
```css
:root {
--cssimported-multimodal: true;
}
```
`csspath` loads that file *instead of* Multimodal’s own.
### Markup
It is easy to set up your HTML structure for Multimodal. To show a modal, it needs to be triggered from a trigger. A trigger needs at least a `data-modal-type`.
* From a `data-modal-url` in an anchor tag
* From an `href` attribute in an anchor tag
* From a `data-modal-url` in a button tag
```html
a data-modal-urlan href attributea data-modal-url
```
Content for an HTML modal usually sits on the slide it is opened from, where it should not be seen until the modal opens. Give it the `mm-dialog` class and the plugin keeps it out of sight:
```html
Example of HTML content
```
For **Markdown** markup, check the Markdown demo above. The same class goes in an element comment: ``
Note: If the modal-content is not valid or can’t be found, no modal will be opened. So make sure that the content you are linking to (an image, a video, a piece of HTML) is there where you expect it.
## Modal behaviour
### Modal size
* Content in modals will display at its original size, but is constrained to the maximum size of the modal.
* The maximum size of modals is the size to the viewport, *minus the margin* as set in the Reveal config.
* The minimum size of HTML modals is 100x100 pixels. This can be set in the config.
### Navigation changes
* The `arrow keys` will close modals *and* go to the next slide
* The `space bar` or `escape key` will only close the modal
* A video modal uses the `space bar` to play and pause instead
In fullscreen, a browser normally uses the `escape key` to leave fullscreen, and the presentation never sees it. In Chrome and Edge, Multimodal asks for that key while a modal is open, so the first press closes the modal and the next one leaves fullscreen. Holding it down still leaves fullscreen straight away. This needs `localhost` or `https`. Safari and Firefox do not allow it, so there the first press leaves fullscreen and the second closes the modal.
Multimodal hands these keys to the modal through Reveal's `keyboardCondition`, which it sets when the presentation loads, and it keeps any `keyboardCondition` of your own. If you change `keyboardCondition` later with `Reveal.configure`, then the modal no longer gets its keys.
### Focus
When a modal opens, focus moves into it, and the rest of the presentation cannot be clicked or tabbed to until it closes. Focus then goes back to the element that had it, usually the trigger. If you style triggers on focus, then use `:focus-visible`, so that a trigger that was clicked does not keep its focus style.
### Slide modals
To automatically open a modal when a slide is shown, add the `data-modal-type` and `data-modal-url` attributes to the section element.
```html
Slide modals
```
### Speaker view
In Speaker view (with the Reveal.js Notes plugin), opening any modal also opens it in the main window. It also works the other way around. This works both for presentations on a server and for presentations opened straight from a file (`file://`).
Scrolling a longer modal document is also repeated across the two windows, but that will only work for local content (on the page), not with iframes.
Sound only comes out of the presentation window. A video modal plays muted in the speaker view, and an `iframe` that asks to autoplay is loaded there with YouTube and Vimeo's mute parameters. Any other player (which has no parameter we can rely on), is asked not to autoplay.
### Events
There are 4 events that may help you do things in your modals: `multimodal:show`, `multimodal:shown`, `multimodal:hide`, and `multimodal:hidden`. Details are in `event.detail`. Use it like this:
```javascript
deck.addEventListener("multimodal:shown", async (event) => {
const triggerInfo = event.detail.trigger;
console.log("Trigger type:", triggerInfo.dataset.modalType);
});
```
### Override navigation
To prevent the user from accidentally navigating to another slide while the modal is open, you can add the `data-modal-navblock` attribute to the triggering element.
```html
Show modal
```
## Adjust styling
The modal is styled with CSS variables, which are controlled through the Reveal.js options (see [Global options](#global-options)). Some of these options can also be set per trigger:
### Overlay
Add a `data-modal-overlaycolor` attribute to the trigger to change the overlay color on a per-trigger basis.
```html
Show modal
```
### Background and padding
The background color and padding can be set with the `data-modal-background` and `data-modal-padding` attributes. When using SVG's, this may come in handy. Both attributes can also be globally set in the options.
```html
```
### Passing extra classes
A triggering element can pass extra classes to the modal with `data-modal-class`.
```html
Show modal
```
## Global options
There are a few options that you can change from the Reveal.js options. The values below are default and do not need to be set if they are not changed.
```javascript
Reveal.initialize({
// ...
multimodal: {
background: {
html: "var(--r-background-color)",
iframe: "var(--r-background-color)",
media: "white"
},
bordercolor: "white",
borderwidth: "1px",
closebuttonhtml: '',
cssautoload: true,
csspath: '',
htmlminwidth: "100px",
htmlminheight: "100px",
overlaycolor: "rgba(0, 0, 0, 0.30)",
padding: {
html: "1em",
iframe: "0",
media: "0"
},
radius: "0.5em",
scalecorrection: true,
shadow: "0 0.5em 0.75em 0.5em rgba(0, 0, 0, 0.25)",
slidemodalevent: "slidetransitionend",
speed: 300,
videoautoplay: true,
videocontrols: true,
videoautohide: true,
zoom: true,
zoomfrom: 0.90
},
plugins: [ Multimodal ]
});
```
1. **`background`**: This sets the standard background color of the modal. If the padding is set to 0 (default for images and video’s), you will not see it. HTML, iframe and media (images and video) are set separately.
* **`html`**: This is set to "var(--r-background-color)", which is the standard background color of the presentation.
* **`iframe`**: This is set to "var(--r-background-color)", which is the standard background color of the presentation.
* **`media`**: This is set to "white".
1. **`bordercolor`**: Set to `white` by default. You can set this to any CSS color value.
1. **`borderwidth`**: Set to `1px` by default. You can set this to any CSS border width value.
1. **`closebuttonhtml`**: Allows you to add your own HTML for the close button. Can be any HTML, for example ``.
1. **`cssautoload`**: Multimodal loads its own stylesheet when this is on. If you bundle Multimodal, or import its CSS yourself, it works this out and does not load a second copy, so this normally does not need setting. If you do want it to autoload in a bundled deck, then setting it to `true` yourself turns it back on.
1. **`csspath`**: Where Multimodal's stylesheet is, for the cases where it cannot find it by itself. You can also set `csspath: false` if the styling is already on the page through some other file.
1. **`htmlminwidth`**: This sets the minimum width of the HTML modals. The default is 100 pixels.
1. **`htmlminheight`**: This sets the minimum height of the HTML modals. The default is 100 pixels.
1. **`overlaycolor `**: This sets the color of the overlay. Some people may call it a backdrop. The default is `rgba(0, 0, 0, 0.30)`. That's like 30% black. You can use any CSS color here, but it’s best to use rgba for transparency.
1. **`padding`**: This sets the standard padding of modals. HTML, iframe and media (images and video) are set separately.
* **`html`**: This is set to "1em", so that content inside a modal has some breathing space.
* **`iframe`**: Set to "0" but can be changed.
* **`media`**: Set to "0" but can be changed.
1. **`radius`**: This sets the radius of the dialog box.
* **`scalecorrection `**: This sets a scale correction, used in the border width and the close button. On small devices or screens, the border and close button may be too small. This option scales them back up.
* **`shadow`**: This sets the shadow around the dialog box. The default is `0 0.5em 0.75em 0.5em rgba(0, 0, 0, 0.25)`, which is a soft but dark shadow.
* **`slidemodalevent`**: This sets the event that triggers the modal on a slide, if that slide is set to show a modal.
* **`speed`**: This sets the speed of the modal opening and closing.
* **`videoautoplay `**: This sets the video to autoplay when opened.
* **`videocontrols `**: This sets the video to show controls when opened.
* **`videoautohide `**: This sets the modal to close when the video in it ends.
* **`zoom`**: This sets the modal to zoom in when opened.
* **`zoomfrom`**: This sets the starting zoom factor of the modal when it is opened. It then zooms to factor 1.
## Like it?
If you like it, please star this repo!
And if you want to show off what you made with it, please do :-)
## License
MIT licensed
Copyright (C) 2024 Martijn De Jongh (Martino)


 ](https://martinomagnifico.github.io/reveal.js-multimodal/demo/demo.html)
Multimodal can be used as a lightbox or actual modal to showcase images, video or HTML content from wihin a presentation. It can be triggered from text links, images, or buttons, or automatically when a slide is shown.
* [Demo](https://martinomagnifico.github.io/reveal.js-multimodal/demo/demo.html)
* [Markdown demo](https://martinomagnifico.github.io/reveal.js-multimodal/demo/demo-markdown.html)
## Basics
There are really only three steps:
1. Install Multimodal
2. Add the multimodal data-attributes to your links
2. Enjoy the modals
## Installation
### Regular installation
Copy the multimodal folder to the plugins folder of the reveal.js folder, like this: `plugin/multimodal`.
### npm installation
This plugin is published to, and can be installed from, npm.
```console
npm install reveal.js-multimodal
```
The Multimodal plugin folder can then be referenced from `node_modules/reveal.js-multimodal/plugin/multimodal`
## Setup
### JavaScript
There are two JavaScript files for Multimodal, a regular one, `multimodal.js`, and a module one, `multimodal.esm.js`. You only need one of them:
#### Regular
If you're not using ES modules, for example, to be able to run your presentation from the filesystem, you can add it like this:
```html
```
#### As a module
If you're using ES modules, you can add it like this:
```html
```
### Styling
The styling of Multimodal is automatically inserted from the included CSS styles, either loaded through NPM or from the plugin folder.
If you want to change the Multimodal style, you can do a lot of that via the Reveal.js options. Or you can simply make your own style and use that stylesheet instead.
#### Where the stylesheet comes from
Multimodal finds and loads its own stylesheet, so most decks never set anything here. If it cannot find it, maybe because the plugin is in a bundle, or it is somewhere the plugin cannot work out, then use `csspath`.
```js
multimodal: {
csspath: "plugin/multimodal/multimodal.css"
}
```
If you import the stylesheet yourself, then set `csspath: false` so that Multimodal does not load a second copy. A stylesheet of your own can also say so, which is useful when you cannot reach the plugin’s options:
```css
:root {
--cssimported-multimodal: true;
}
```
`csspath` loads that file *instead of* Multimodal’s own.
### Markup
It is easy to set up your HTML structure for Multimodal. To show a modal, it needs to be triggered from a trigger. A trigger needs at least a `data-modal-type`.
* From a `data-modal-url` in an anchor tag
* From an `href` attribute in an anchor tag
* From a `data-modal-url` in a button tag
```html
a data-modal-url
an href attribute
a data-modal-url
```
Content for an HTML modal usually sits on the slide it is opened from, where it should not be seen until the modal opens. Give it the `mm-dialog` class and the plugin keeps it out of sight:
```html
```
For **Markdown** markup, check the Markdown demo above. The same class goes in an element comment: ``
Note: If the modal-content is not valid or can’t be found, no modal will be opened. So make sure that the content you are linking to (an image, a video, a piece of HTML) is there where you expect it.
## Modal behaviour
### Modal size
* Content in modals will display at its original size, but is constrained to the maximum size of the modal.
* The maximum size of modals is the size to the viewport, *minus the margin* as set in the Reveal config.
* The minimum size of HTML modals is 100x100 pixels. This can be set in the config.
### Navigation changes
* The `arrow keys` will close modals *and* go to the next slide
* The `space bar` or `escape key` will only close the modal
* A video modal uses the `space bar` to play and pause instead
In fullscreen, a browser normally uses the `escape key` to leave fullscreen, and the presentation never sees it. In Chrome and Edge, Multimodal asks for that key while a modal is open, so the first press closes the modal and the next one leaves fullscreen. Holding it down still leaves fullscreen straight away. This needs `localhost` or `https`. Safari and Firefox do not allow it, so there the first press leaves fullscreen and the second closes the modal.
Multimodal hands these keys to the modal through Reveal's `keyboardCondition`, which it sets when the presentation loads, and it keeps any `keyboardCondition` of your own. If you change `keyboardCondition` later with `Reveal.configure`, then the modal no longer gets its keys.
### Focus
When a modal opens, focus moves into it, and the rest of the presentation cannot be clicked or tabbed to until it closes. Focus then goes back to the element that had it, usually the trigger. If you style triggers on focus, then use `:focus-visible`, so that a trigger that was clicked does not keep its focus style.
### Slide modals
To automatically open a modal when a slide is shown, add the `data-modal-type` and `data-modal-url` attributes to the section element.
```html
](https://martinomagnifico.github.io/reveal.js-multimodal/demo/demo.html)
Multimodal can be used as a lightbox or actual modal to showcase images, video or HTML content from wihin a presentation. It can be triggered from text links, images, or buttons, or automatically when a slide is shown.
* [Demo](https://martinomagnifico.github.io/reveal.js-multimodal/demo/demo.html)
* [Markdown demo](https://martinomagnifico.github.io/reveal.js-multimodal/demo/demo-markdown.html)
## Basics
There are really only three steps:
1. Install Multimodal
2. Add the multimodal data-attributes to your links
2. Enjoy the modals
## Installation
### Regular installation
Copy the multimodal folder to the plugins folder of the reveal.js folder, like this: `plugin/multimodal`.
### npm installation
This plugin is published to, and can be installed from, npm.
```console
npm install reveal.js-multimodal
```
The Multimodal plugin folder can then be referenced from `node_modules/reveal.js-multimodal/plugin/multimodal`
## Setup
### JavaScript
There are two JavaScript files for Multimodal, a regular one, `multimodal.js`, and a module one, `multimodal.esm.js`. You only need one of them:
#### Regular
If you're not using ES modules, for example, to be able to run your presentation from the filesystem, you can add it like this:
```html
```
#### As a module
If you're using ES modules, you can add it like this:
```html
```
### Styling
The styling of Multimodal is automatically inserted from the included CSS styles, either loaded through NPM or from the plugin folder.
If you want to change the Multimodal style, you can do a lot of that via the Reveal.js options. Or you can simply make your own style and use that stylesheet instead.
#### Where the stylesheet comes from
Multimodal finds and loads its own stylesheet, so most decks never set anything here. If it cannot find it, maybe because the plugin is in a bundle, or it is somewhere the plugin cannot work out, then use `csspath`.
```js
multimodal: {
csspath: "plugin/multimodal/multimodal.css"
}
```
If you import the stylesheet yourself, then set `csspath: false` so that Multimodal does not load a second copy. A stylesheet of your own can also say so, which is useful when you cannot reach the plugin’s options:
```css
:root {
--cssimported-multimodal: true;
}
```
`csspath` loads that file *instead of* Multimodal’s own.
### Markup
It is easy to set up your HTML structure for Multimodal. To show a modal, it needs to be triggered from a trigger. A trigger needs at least a `data-modal-type`.
* From a `data-modal-url` in an anchor tag
* From an `href` attribute in an anchor tag
* From a `data-modal-url` in a button tag
```html
a data-modal-url
an href attribute
a data-modal-url
```
Content for an HTML modal usually sits on the slide it is opened from, where it should not be seen until the modal opens. Give it the `mm-dialog` class and the plugin keeps it out of sight:
```html
```
For **Markdown** markup, check the Markdown demo above. The same class goes in an element comment: ``
Note: If the modal-content is not valid or can’t be found, no modal will be opened. So make sure that the content you are linking to (an image, a video, a piece of HTML) is there where you expect it.
## Modal behaviour
### Modal size
* Content in modals will display at its original size, but is constrained to the maximum size of the modal.
* The maximum size of modals is the size to the viewport, *minus the margin* as set in the Reveal config.
* The minimum size of HTML modals is 100x100 pixels. This can be set in the config.
### Navigation changes
* The `arrow keys` will close modals *and* go to the next slide
* The `space bar` or `escape key` will only close the modal
* A video modal uses the `space bar` to play and pause instead
In fullscreen, a browser normally uses the `escape key` to leave fullscreen, and the presentation never sees it. In Chrome and Edge, Multimodal asks for that key while a modal is open, so the first press closes the modal and the next one leaves fullscreen. Holding it down still leaves fullscreen straight away. This needs `localhost` or `https`. Safari and Firefox do not allow it, so there the first press leaves fullscreen and the second closes the modal.
Multimodal hands these keys to the modal through Reveal's `keyboardCondition`, which it sets when the presentation loads, and it keeps any `keyboardCondition` of your own. If you change `keyboardCondition` later with `Reveal.configure`, then the modal no longer gets its keys.
### Focus
When a modal opens, focus moves into it, and the rest of the presentation cannot be clicked or tabbed to until it closes. Focus then goes back to the element that had it, usually the trigger. If you style triggers on focus, then use `:focus-visible`, so that a trigger that was clicked does not keep its focus style.
### Slide modals
To automatically open a modal when a slide is shown, add the `data-modal-type` and `data-modal-url` attributes to the section element.
```html