# react-leaflet-bing [](https://www.npmjs.com/package/react-leaflet-bing-v2)[](https://github.com/TA-Geoforce/react-leaflet-bing-v2/actions/workflows/npm-publish.yml)[](https://github.com/TA-Geoforce/react-leaflet-bing-v2/actions/workflows/node.js.yml)
Bing layer as React component for Leaflet build on top of [React-Leaflet](https://github.com/PaulLeCam/react-leaflet).
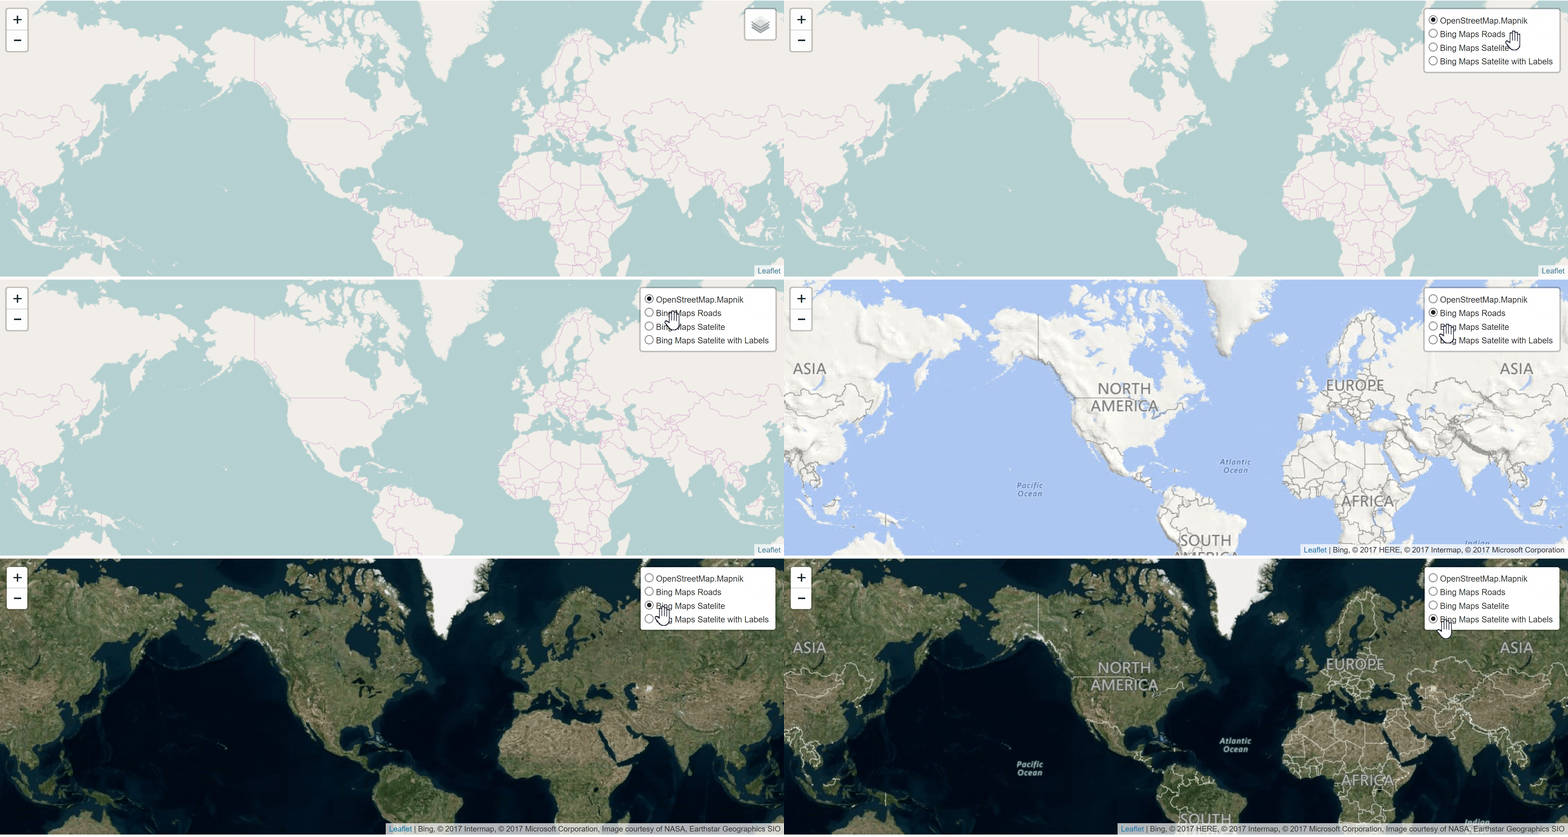
## Complete example with react-leaflet-geosearch
To get started, to be able to run the example you have execute:
```bash
npm install
```
```jsx
import React from 'react';
import { MapContainer, TileLayer, LayersControl } from 'react-leaflet'
import {BingLayer} from '../src'
const { BaseLayer, Overlay } = LayersControl;
export default class BingExample extends React.Component {
constructor() {
super();
this.state = {
geodata: null,
isadded: false
}
}
render() {
const bing_key = "YOUR-BING-KEY"
return (
)
}
}
```
You can find the following example in the folder ```example```. Run the above code by executing the following scripts in package.json, with the order they are stated underneath:
1) ```build```
1) ```example```
# Options
option | type | | default
-----------|--------|---|--------------
subdomains | array | | [0, 1, 2, 3]
type | string |One of the following values: - Aerial– Aerial imagery.
- AerialWithLabels –Aerial imagery with a road overlay.
- AerialWithLabelsOnDemand - Aerial imagery with on-demand road overlay.
- CanvasDark - A dark version of the road maps.
- CanvasLight - A lighter version of the road maps which also has some of the details such as hill shading disabled.
- CanvasGray - A grayscale version of the road maps.
- Road – Roads without additional imagery.
see: https://msdn.microsoft.com/en-us/library/ff701724.aspx| 'Aerial'
attribution | string | | 'Bing'
culture | string | for supported culture codes see: https://msdn.microsoft.com/en-us/library/hh441729.aspx | ''
style | string | REST style parameters see: https://msdn.microsoft.com/en-us/library/mt823636.aspx#Related%20Resources | ''
For more details on how to use this plugin check the example.