---
title: 做一个特殊的ppt
tags:
  - PPT
  - 前端
  - tools
categories: web
author: 青云工作室
headimg: 'https://cdn.jsdelivr.net/gh/qystudio0/cdn@main/img/post/1642157019000.png'
references:
  - title: 阿里云云栖号
    url: 'https://mp.weixin.qq.com/s/H1dtH_JyuCZotGrL5rs66Q'
abbrlink: 59121
date: 2021-12-25 13:42:12
---

## 居然可以用js写ppt

用powerpoint或者keynote写演示文稿，对于代码、数学公式等的支持一直是个痛点。而且对于前端同学来说，一身的css功力用不上也是个痛点。对于使用markdown来写文档的同学来说，将文档转成ppt需要重新排版也是件重复性的工作量。

于是我们需要一个基于web技术的ppt框架，reveal.js在这个领域成名已久了，而且上个月还有发布新版本，维护得还蛮好，第一步我们就选它了。

## 将 reveal.js 运行起来

首先clone一份reveal.js最新的代码

```bash
git clone https://github.com/hakimel/reveal.js
```

我们照抄一份index.html，比如叫做study.html：

```html
<!doctype html><html> <head>  <meta charset="utf-8">  <meta name="viewport" content="width=device-width, initial-scale=1.0, maximum-scale=1.0, user-scalable=no">  <title>reveal.js</title>  <link rel="stylesheet" href="dist/reset.css">  <link rel="stylesheet" href="dist/reveal.css">  <link rel="stylesheet" href="dist/theme/black.css">  <!-- Theme used for syntax highlighted code -->  <link rel="stylesheet" href="plugin/highlight/monokai.css"> </head> <body>  <div class="reveal">   <div class="slides">    <section>Slide 1</section>    <section>Slide 2</section>   </div>  </div>  <script src="dist/reveal.js"></script>  <script src="plugin/notes/notes.js"></script>  <script src="plugin/markdown/markdown.js"></script>  <script src="plugin/highlight/highlight.js"></script>  <script>   // More info about initialization & config:   // - https://revealjs.com/initialization/   // - https://revealjs.com/config/   Reveal.initialize({    hash: true,    // Learn about plugins: https://revealjs.com/plugins/    plugins: [ RevealMarkdown, RevealHighlight, RevealNotes ]   });</script> </body></html>
```

在reveal.js目录下运行npm install, 然后运行npm start就可以启动一个server来查看上面的ppt网页。默认使用8000端口，如果被占用了可以通过指定port参数换一个，比如我们换成30800吧：

```bash
npm start -- --port=30800
```

然后通过访问浏览器的127.0.0.1:30800/study.html就可以看到我们的ppt啦：
![](https://cdn.jsdelivr.net/gh/qystudio0/cdn@main/img/post/1642157019000.png)

### reveal.js step by step

上面这个网页其实挺容易懂的，不用react或vue框架，也不需要配置webpack。其核心内容部分其实非常简单，就是每一页演示文稿对应一个section。

```html
<div class="reveal">
<div class="slides">
<section>Slide 1</section>
<section>Slide 2</section>
</div>
  </div>
```

## 支持 markdown

reveal.js的第一个强大功能是直接可以使用markdown来写演示文稿。在我们上面默认的html模板中已经加载了RevealMarkdown插件。所以我们要做的就是在下面的模板上写markdown就好。

```html
<section data-markdown>
<textarea data-markdown>
</textarea>
</section>
```

我们来看个例子：

```html
<section data-markdown>
    <textarea data-markdown>
推荐系统的主要算法包括：
- 矩阵分解
- 线性模型
- 树模型
- 深度学习模型                        
    </textarea>
</section>
```

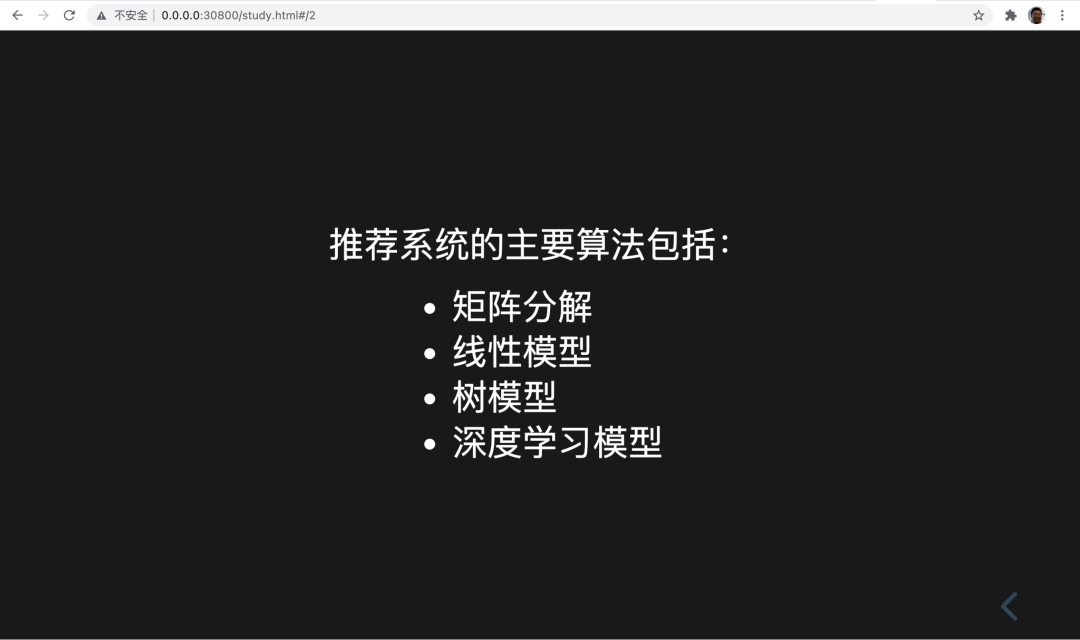
生成的幻灯片如下：

![](https://cdn.jsdelivr.net/gh/qystudio0/cdn@main/img/post/1642157024000.png)

## 换个主题

如果觉得黑底白字的太丑了，我们可以换个主题。

主题就是个css，在这条语句里引用：

```html
<link rel="stylesheet" href="dist/theme/black.css">
```

换成dist/theme/下面其它的css主题，或者干脆自己撸一个。

比如改成：

```html
<link rel="stylesheet" href="dist/theme/beige.css">
```

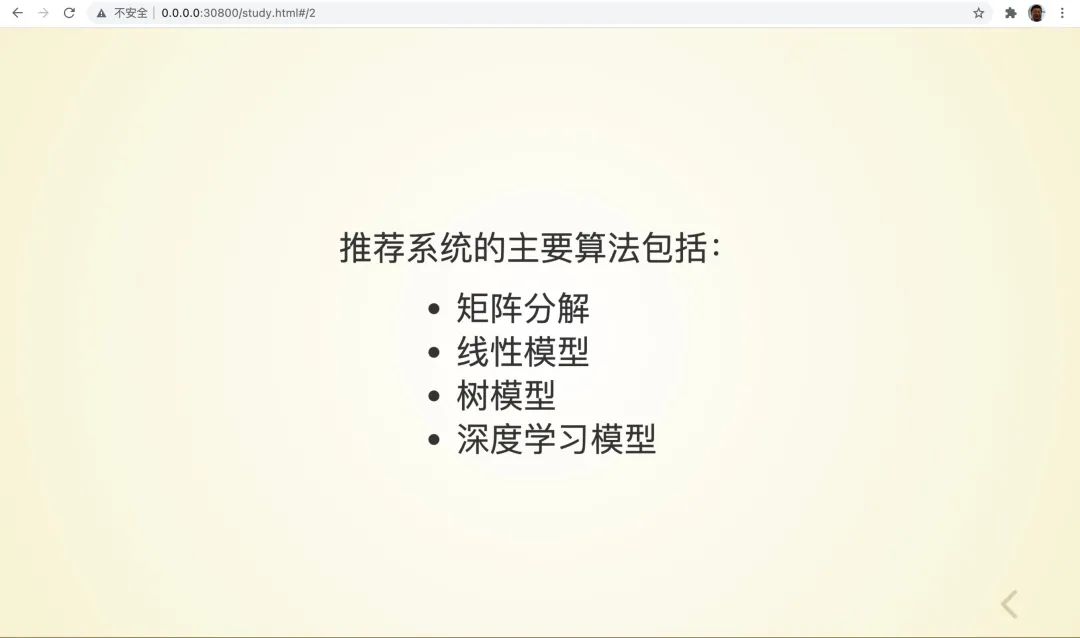
效果变成这样：

![](https://cdn.jsdelivr.net/gh/qystudio0/cdn@main/img/post/1642157038000.jpg)

## 支持数学公式

支持数学公式的js库和插件默认并没有包含在默认模板中，我们需要将其增加进来。

我们先把数学公式库的js引进来：

```html
<script src="plugin/math/math.js"></script>
```

然后在初始化时Reveal.initialize增加对于数学公式的配置,并且引入cdn上的mathjax库：

```html
Reveal.initialize({
hash: true,
        math: {
          mathjax:
"https://cdn.jsdelivr.net/gh/mathjax/mathjax@2.7.8/MathJax.js",
          config: "TeX-AMS_HTML-full",
          // pass other options into `MathJax.Hub.Config()`
          TeX: { Macros: { RR: "{\\bf R}" } },
        },
```

最后，在plugins中增加RevealMath插件：

```html
plugins: [RevealMarkdown, RevealHighlight, RevealNotes, RevealMath],      });
```

完整的代码如下：

```html
<script src="plugin/math/math.js"></script>
<script>
  Reveal.initialize({
hash: true,
math: {
mathjax:
"https://cdn.jsdelivr.net/gh/mathjax/mathjax@2.7.8/MathJax.js",
config: "TeX-AMS_HTML-full",
// pass other options into `MathJax.Hub.Config()`
      TeX: { Macros: { RR: "{\\bf R}" } },
    },

plugins: [RevealMarkdown, RevealHighlight, RevealNotes, RevealMath],
  });
</script>
```

插件引入之后我们就可以在幻灯片中写公式了。

可以直接在section中写：

```html
<section>
    \[\begin{aligned}
    \ MAE(X,h)=\frac{1}{m} \sum_{i=1}^m|h(x^i)-y^{(i)}| \
    \end{aligned} \]
</section>
```

也可以嵌入到markdown中：

```html
<section data-markdown>
<textarea data-markdown>
                $MAE(X,h)=\frac{1}{m} \sum_{i=1}^m|h(x^i)-y^{(i)}|$                      
</textarea>
</section>
```

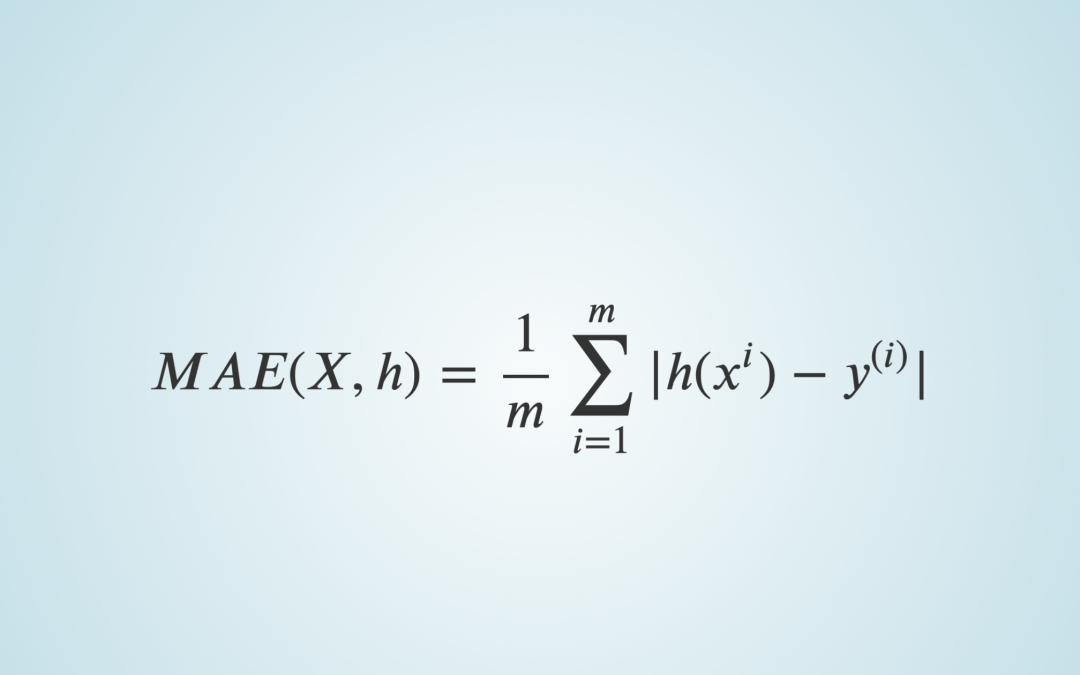
出来的效果是这样的：
![](https://cdn.jsdelivr.net/gh/qystudio0/cdn@main/img/post/1642157050000.png)

### 代码高亮

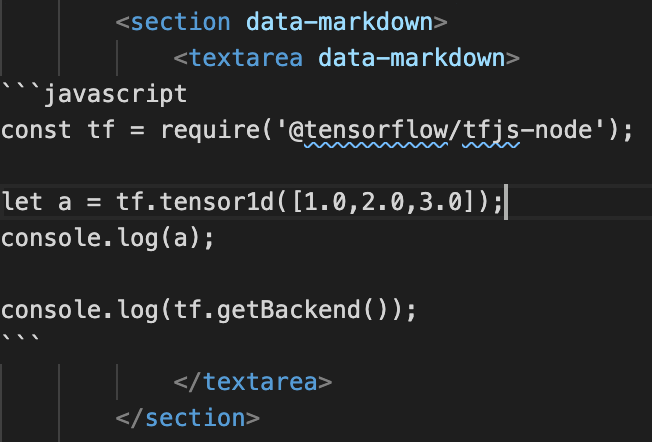
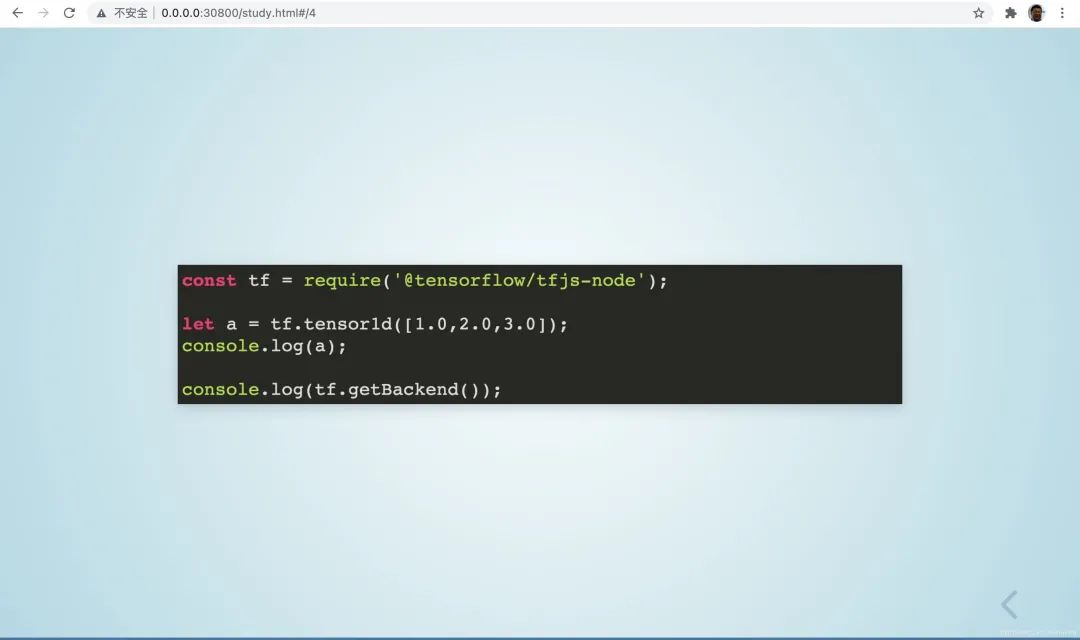
代码高亮默认是支持的，我们可以在markdown里面用```来使用：

![](https://cdn.jsdelivr.net/gh/qystudio0/cdn@main/img/post/1642157060000.png)

显示出来的效果如下：

![](https://cdn.jsdelivr.net/gh/qystudio0/cdn@main/img/post/1642157071000.jpg)

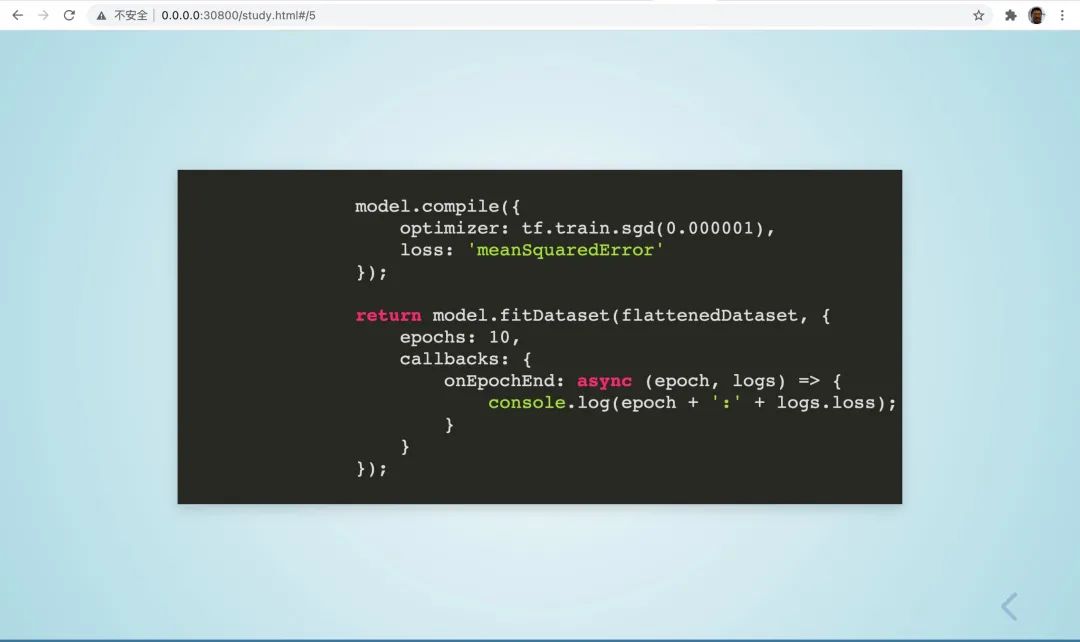
也可以直接使用html的pre和code标签来显示：

```html
<section>
    <pre>
        <code class="language-javascript">
            model.compile({
                optimizer: tf.train.sgd(0.000001),
                loss: 'meanSquaredError'
            });

return model.fitDataset(flattenedDataset, {
                epochs: 10,
                callbacks: {
                    onEpochEnd: async (epoch, logs) => {
                        console.log(epoch + ':' + logs.loss);
                    }
                }
            });
        </code>
    </pre>
</section>
```

显示的效果如下：

![](https://cdn.jsdelivr.net/gh/qystudio0/cdn@main/img/post/1642157079000.jpg)

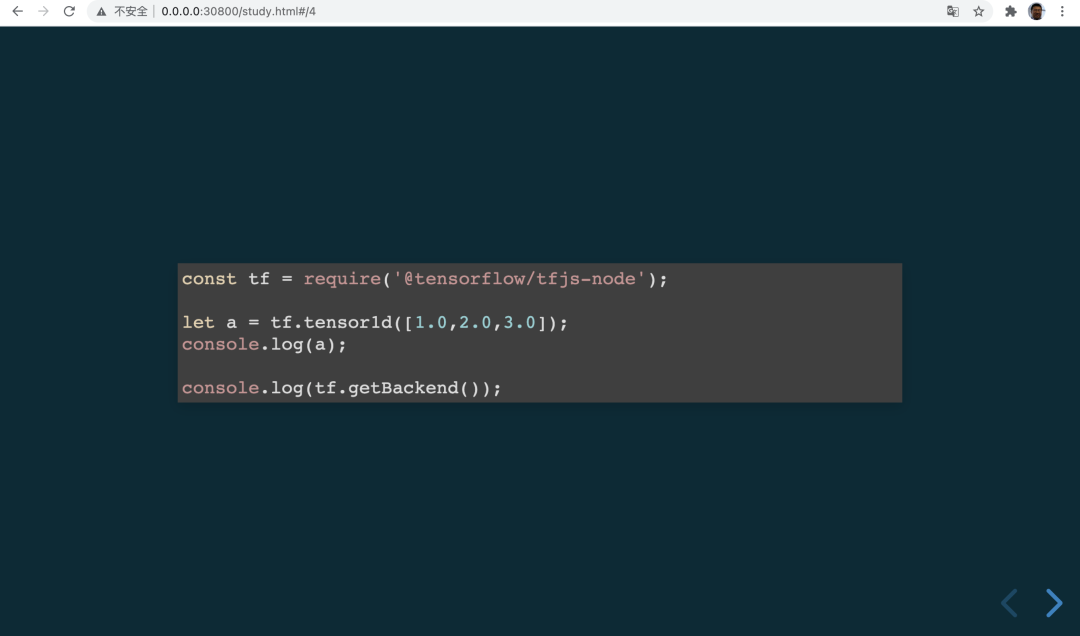
代码高亮的theme也是可以更换的，只要更换plugin/highlight下面的css即可，例：

```html
<link rel="stylesheet" href="plugin/highlight/zenburn.css" />
```

我们顺便把reveal.js的theme也换一下：

```html
<link rel="stylesheet" href="dist/theme/moon.css" />
```

效果变成下面这样：

![](https://cdn.jsdelivr.net/gh/qystudio0/cdn@main/img/post/1642157084000.png)

我们汇总下上面的代码：

```html
<!DOCTYPE html>
<html>
<head>
<meta charset="utf-8" />
<meta
name="viewport"
content="width=device-width, initial-scale=1.0, maximum-scale=1.0, user-scalable=no"
    />

<title>reveal.js学习</title>

<link rel="stylesheet" href="dist/reset.css" />
<link rel="stylesheet" href="dist/reveal.css" />
<link rel="stylesheet" href="dist/theme/moon.css" />

<!-- Theme used for syntax highlighted code -->
<link rel="stylesheet" href="plugin/highlight/monokai.css" />
</head>
<body>
<div class="reveal">
<div class="slides">
<section>Slide 1</section>
<section>
            \[\begin{aligned}
            \ MAE(X,h)=\frac{1}{m} \sum_{i=1}^m|h(x^i)-y^{(i)}| \
            \end{aligned} \]
</section>
<section data-markdown>
<textarea data-markdown>
推荐系统的主要算法包括：
- 矩阵分解
- 线性模型
- 树模型
- 深度学习模型                        
</textarea
          >
</section>
<section data-markdown>
<textarea data-markdown>
                        $MAE(X,h)=\frac{1}{m} \sum_{i=1}^m|h(x^i)-y^{(i)}|$                      
</textarea>
</section>
<section>
<pre>
<code class="language-javascript">
                    model.compile({
                        optimizer: tf.train.sgd(0.000001),
                        loss: 'meanSquaredError'
                    });

                    return model.fitDataset(flattenedDataset, {
                        epochs: 10,
                        callbacks: {
                            onEpochEnd: async (epoch, logs) => {
                                console.log(epoch + ':' + logs.loss);
                            }
                        }
                    });
</code>
</pre>
</section>
</div>
</div>

<script src="dist/reveal.js"></script>
<script src="plugin/notes/notes.js"></script>
<script src="plugin/markdown/markdown.js"></script>
<script src="plugin/highlight/highlight.js"></script>
<script src="plugin/math/math.js"></script>
<script>
// More info about initialization & config:
// - https://revealjs.com/initialization/
// - https://revealjs.com/config/
      Reveal.initialize({
hash: true,
math: {
mathjax:
"https://cdn.jsdelivr.net/gh/mathjax/mathjax@2.7.8/MathJax.js",
config: "TeX-AMS_HTML-full",
// pass other options into `MathJax.Hub.Config()`
          TeX: { Macros: { RR: "{\\bf R}" } },
        },

// Learn about plugins: https://revealjs.com/plugins/
        plugins: [RevealMarkdown, RevealHighlight, RevealNotes, RevealMath],
      });
</script>
</body>
</html>
```

## 背景图片

section支持data-background-image属性来指定背景图片。例：

```html
<section data-background-image="https://cdn.jsdelivr.net/www.jsdelivr.com/000a3f2b6a7baa6ae0f786a251fd105e4b230d8e/img/landing/network-map@2x.png">        section>
```

## HTML and CSS

比起markdown，HTML和CSS也是写演示文稿的好手段，可控的方法更多。而且也可以跟reveal.js的功能有更好的结合。

在section中，可以像在普通网页中一样写HTML标签：

```html
<section>
<h3 style="{color: #ffec3d;}">推荐系统的冷启动h3>
<ul>
<li>利用热门数据li>
<li>利用用户注册信息li>
<li>利用第三方数据li>
<li>利用物品内容属性li>
</ul>
</section>
```

我们也可以在header中写style属性给section中使用。

比如默认字体太大了，我们可以给调一调：

```html
<style>
ul {
font-size: 18px;
    }
</style>
```

## 淡入淡出

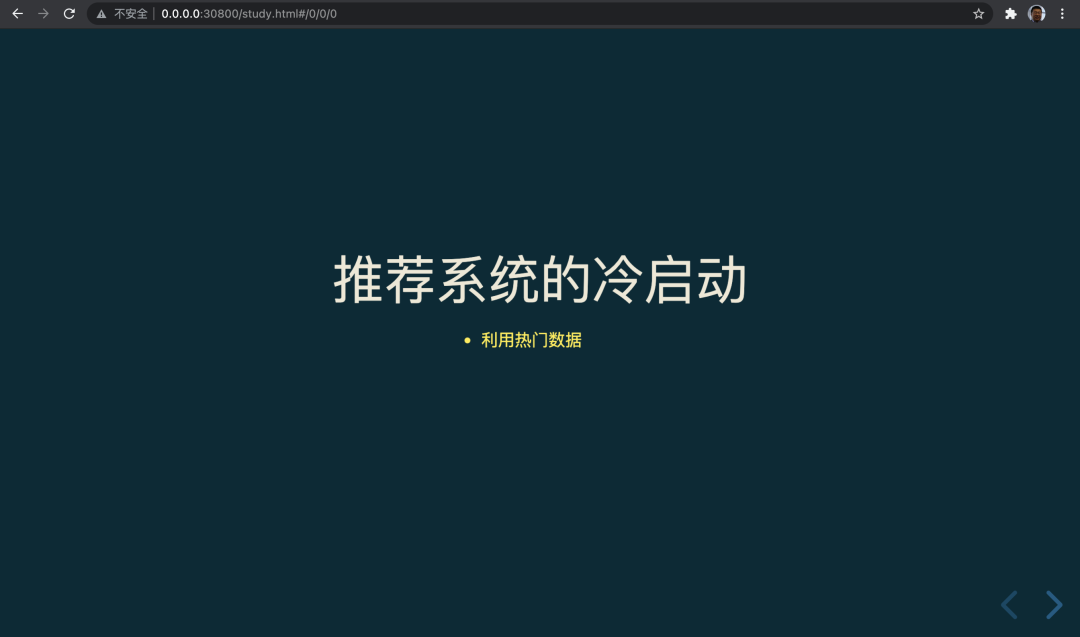
结合html标签，可以指定淡入淡出的效果。这可以通过给标签添加class属性为fragment实现。

我们来看个淡入的例子：

```html
<section>
<h3>推荐系统的冷启动h3>
<ul>
<li class="fragment">利用热门数据li>
<li class="fragment">利用用户注册信息li>
<li class="fragment">利用第三方数据li>
<li class="fragment">利用物品内容属性li>
</ul>
</section>
```

![](https://cdn.jsdelivr.net/gh/qystudio0/cdn@main/img/post/1642157091000.png)

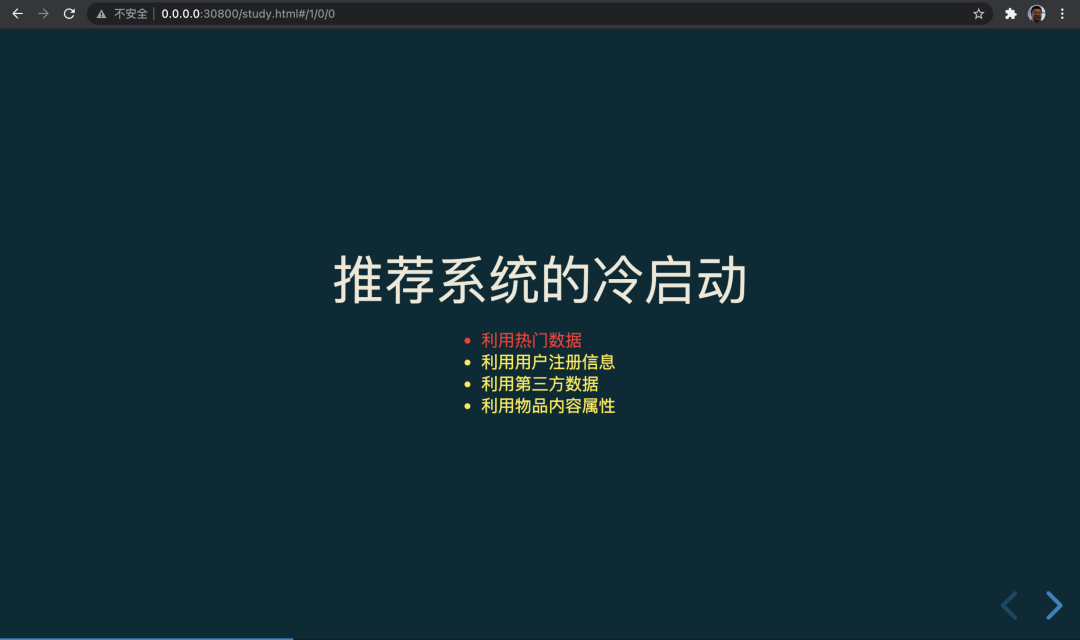
除了淡入之外，我们还可以对某项进行标红：

```html
<section>
<h3>推荐系统的冷启动</h3>
<ul>
<li class="fragment highlight-red">利用热门数据</li>
<li>利用用户注册信息</li>
<li>利用第三方数据</li>
<li>利用物品内容属性</li>
</ul>
</section>
```

效果如下：

![](https://cdn.jsdelivr.net/gh/qystudio0/cdn@main/img/post/1642157096000.png)

## 导出为 PDF

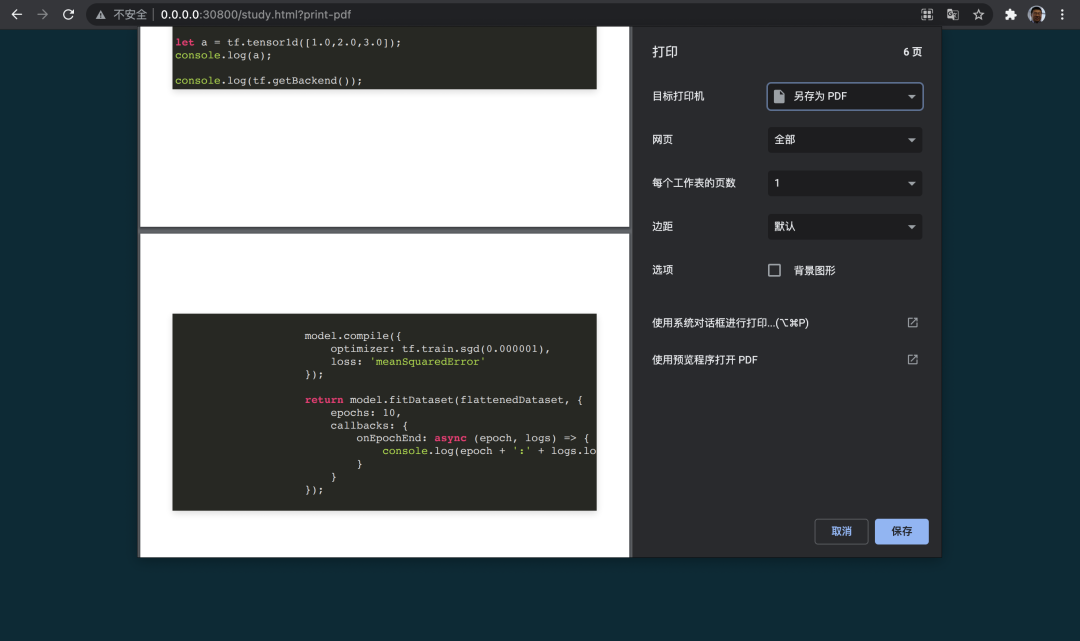
演示文稿做好之后，除了在浏览器中看，我们也可以导出成为pdf格式。方法是在URI之后增加"?print-pdf"后缀，比如：http://0.0.0.0:30800/study.html?print-pdf

然后我们再用另存为pdf格式功能来保存下来就好。
![](https://cdn.jsdelivr.net/gh/qystudio0/cdn@main/img/post/1642157105000.png)

## 更进一步

除了上面介绍的基本特性之外，reveal.js支持自动播放、自制插件、支持处理事件等等有利于开发人员写slides的特性。相信能给你的slides带来新的好玩的东西，将汇报与分享变成乐趣。Enjoy it!