---
title: CLI Auth
description: Quickly add authentication to your command-line application.
showNextPage: true
originalPath: .tmp-workos-clone/packages/docs/content/authkit/cli-auth.mdx
---
## Introduction
CLI Auth enables your command-line applications to authenticate users through the web via your WorkOS app. Based on the [OAuth 2.0 Device Authorization Flow](https://datatracker.ietf.org/doc/html/rfc8628), this flow is optimized for devices that lack a web browser or have limited input capabilities.
With CLI Auth, your command-line app requests a device authorization from WorkOS, which includes a code for the user and a code for your app. After the user confirms the code, your app can exchanges its device code for tokens.
## (1) Request device authorization
To begin the authentication flow, your CLI application makes a request to the `/authorize/device` endpoint to obtain the necessary codes and URLs for user authentication.
After you get a response, your app can provide next steps to the user.
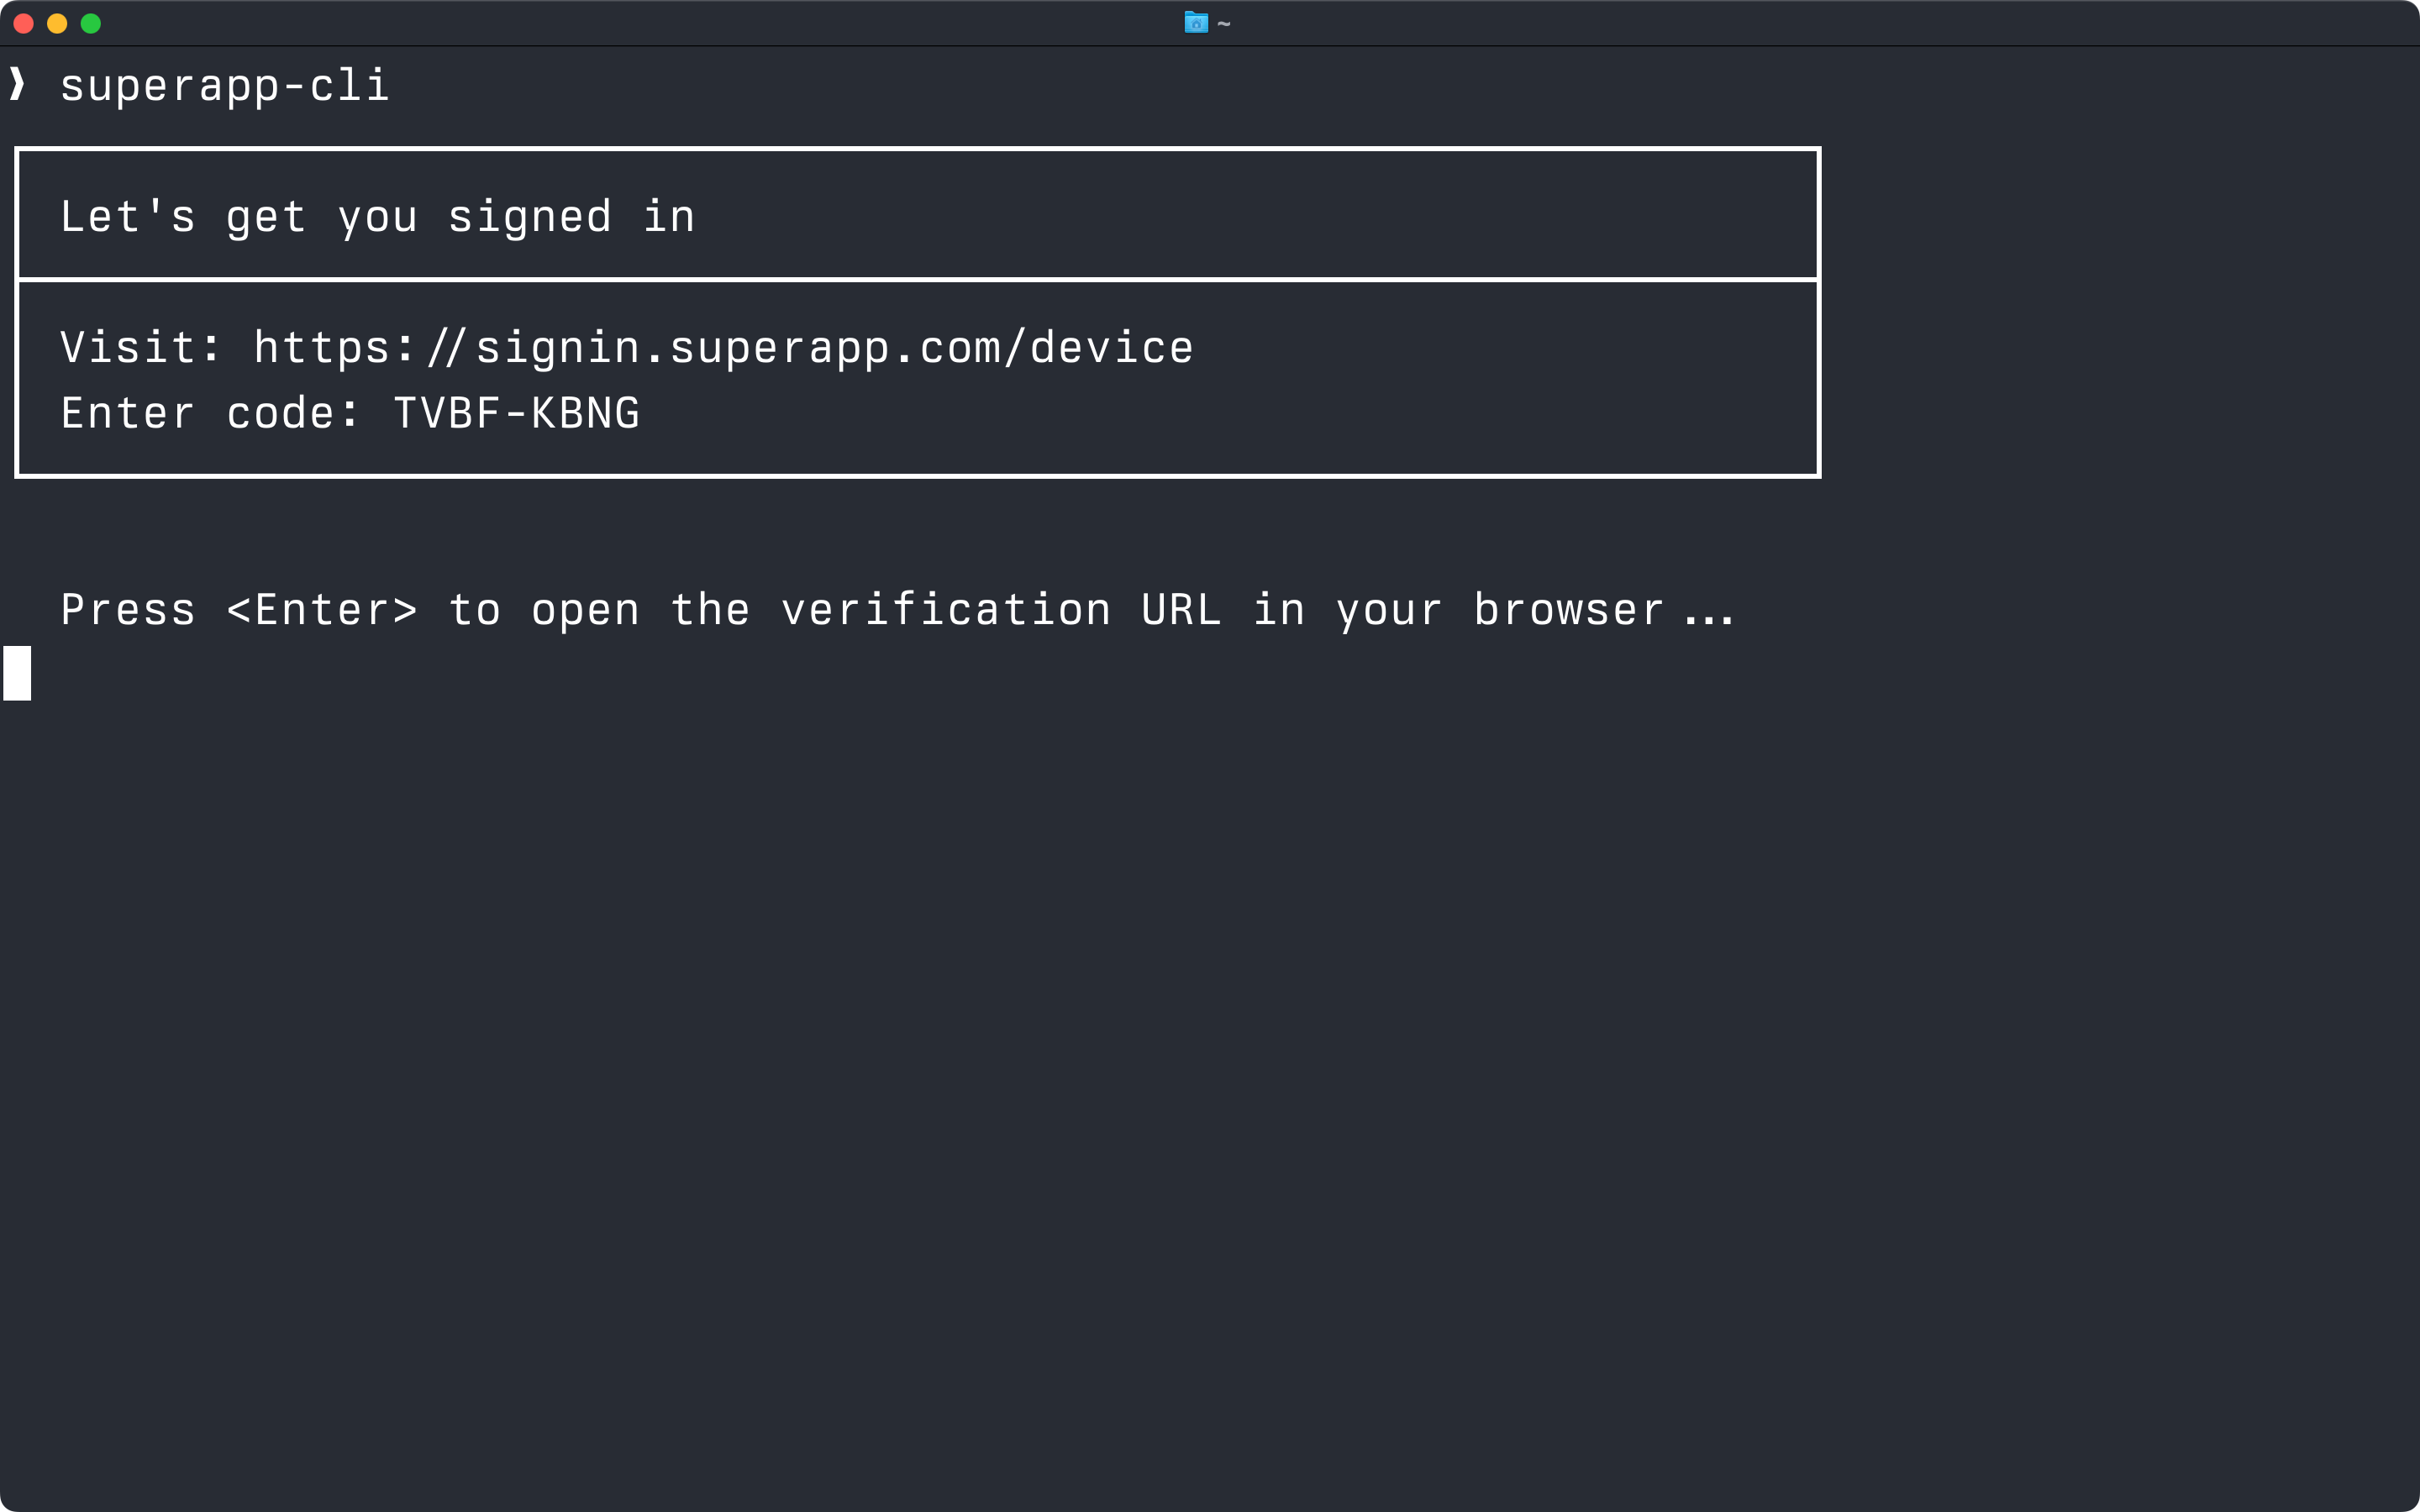
Your application should display the `user_code` from the response, along with the `verification_uri` in the terminal. If you offer the ability to open in a browser easily like in this screenshot, we suggest using the `verification_uri_complete` for that.
Never display the `device_code` to the user. That is only for the device to poll the token endpoint.
## (2) User confirms the code
Next the user needs to confirm the code in their browser.
### (A) Manual code entry
If the user navigates to the `verification_uri`, they'll be presented with a form to enter the code manually. If they are not logged in they'll be prompted to do that first and then returned to the code entry screen.

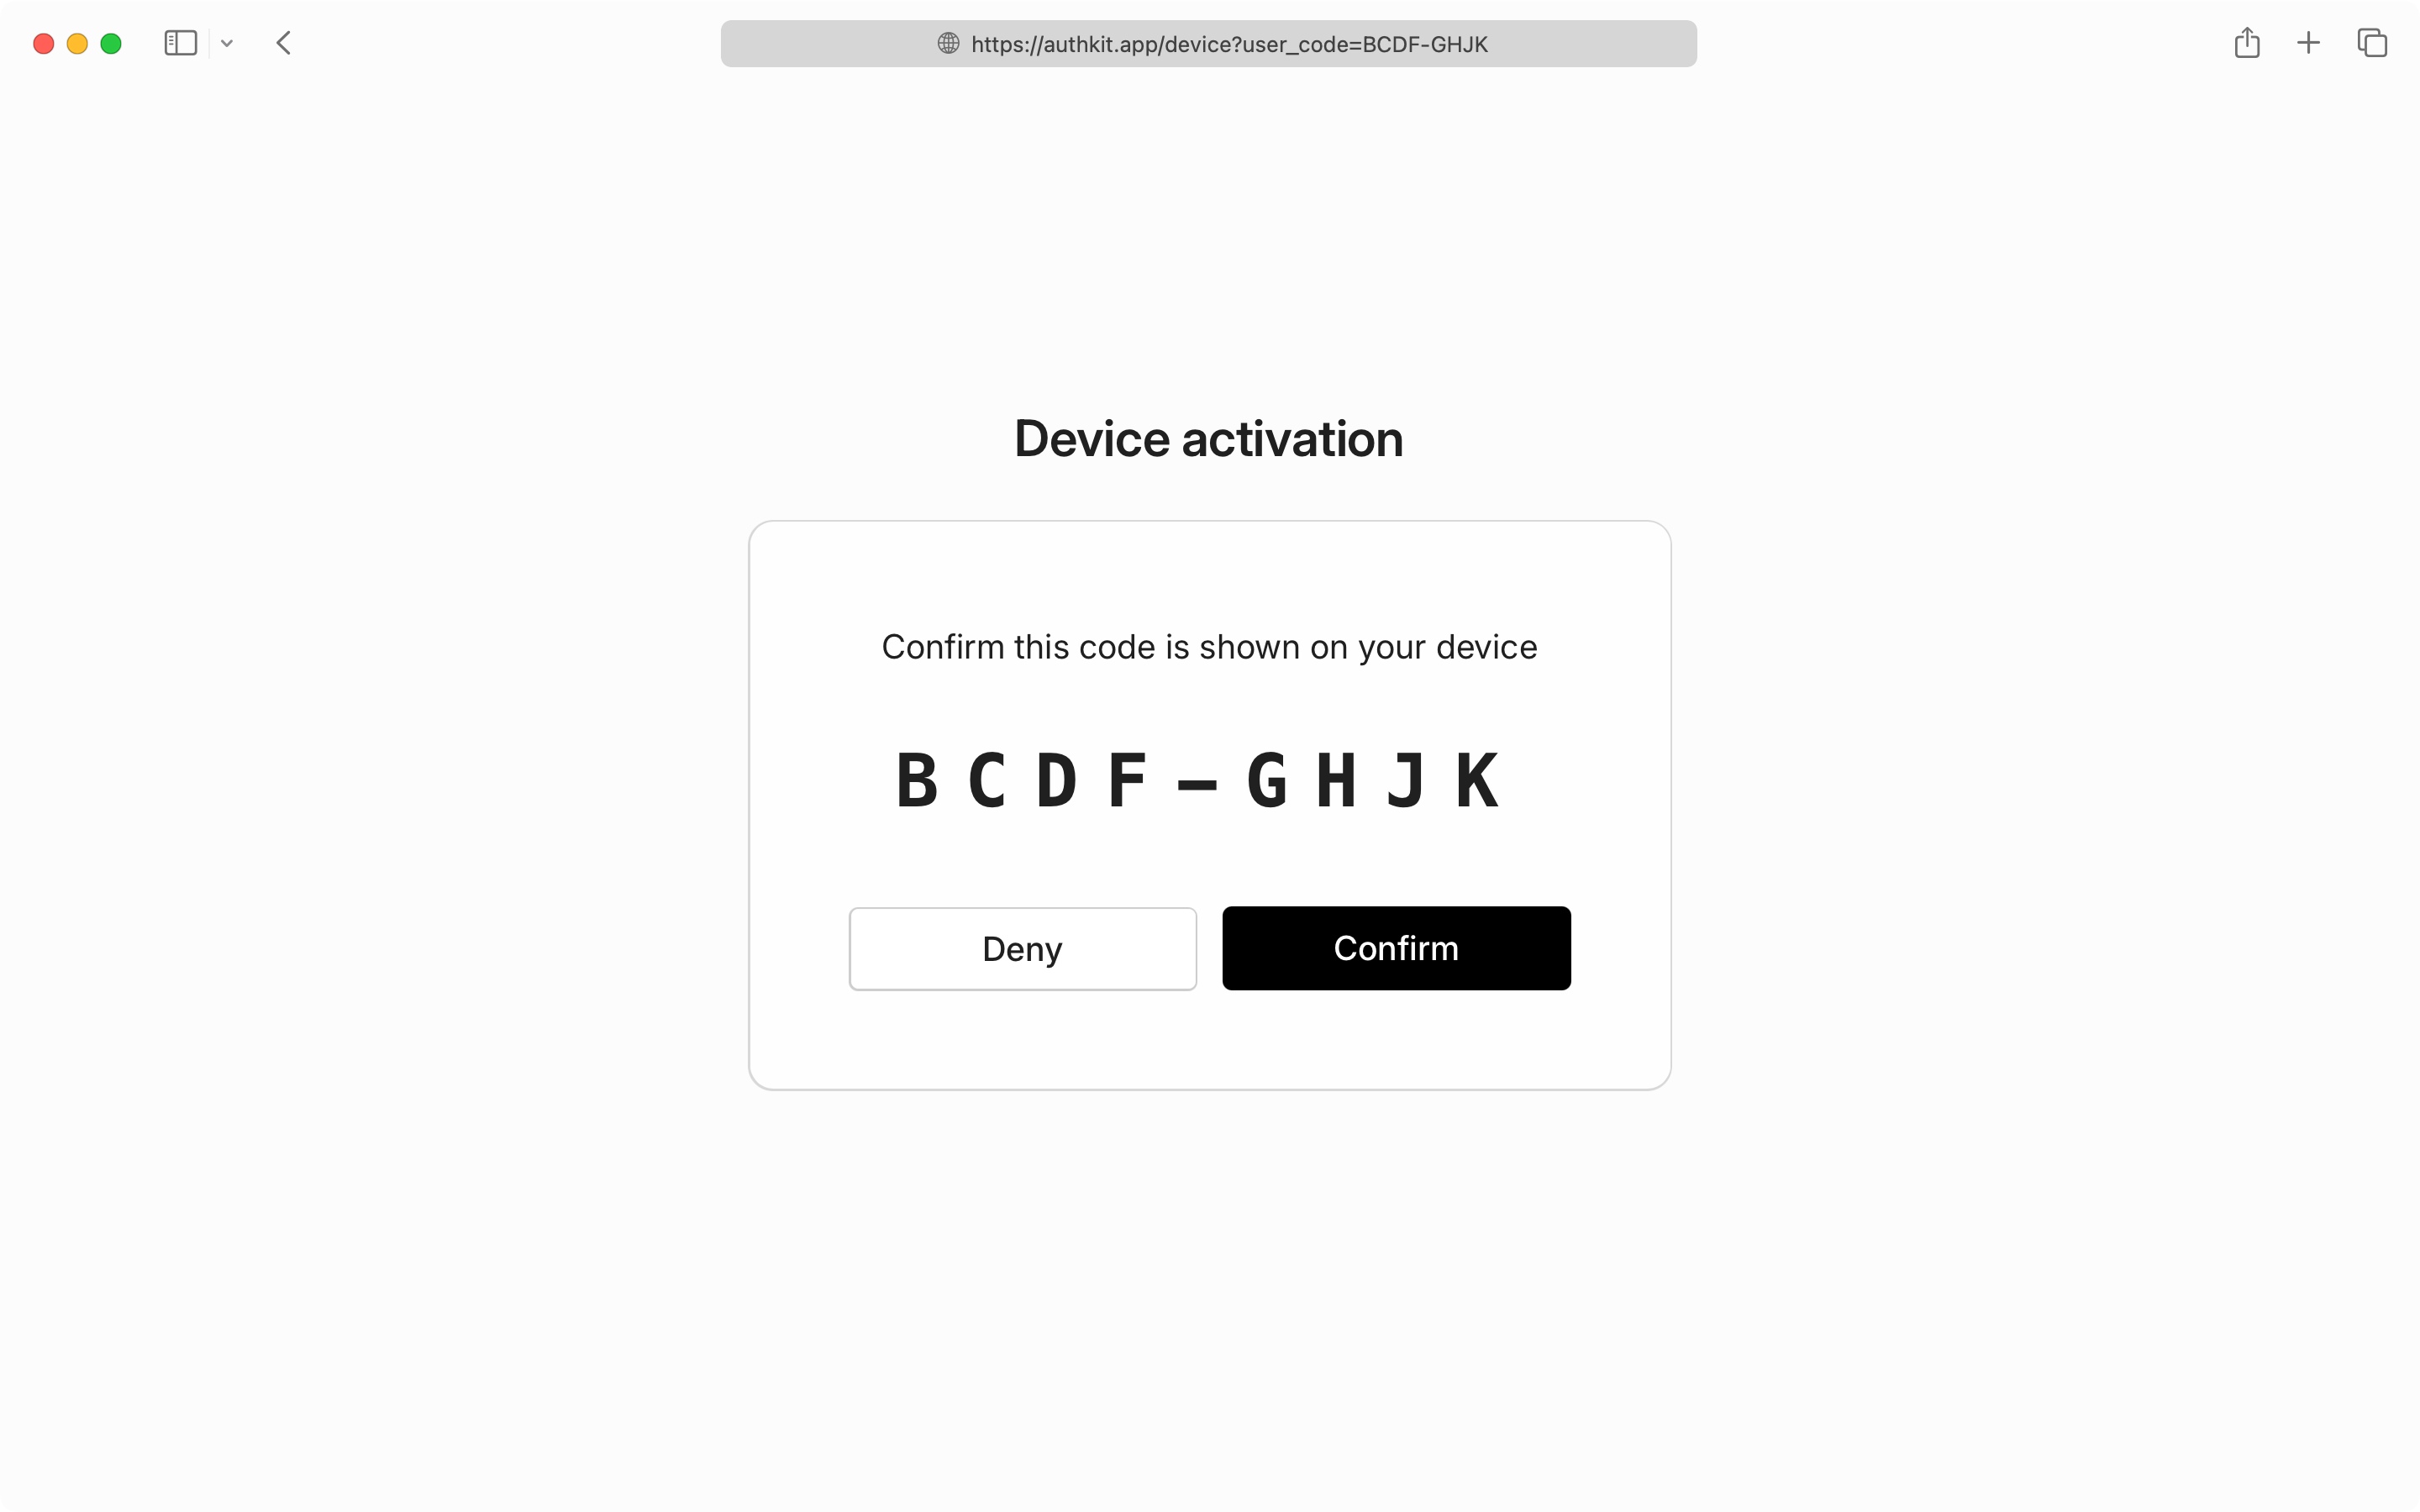
### (B) One-click confirmation
If the user goes to the `verification_uri_complete`, (for example, `https:///device?user_code=ABCD-EFGH`, they'll instead need to confirm that the code matches what is displayed in the terminal.
## (3) Request tokens
While the user is completing authentication in their browser, your CLI application should poll the token endpoint to check for authorization completion.
Make requests to the token endpoint using `device_code` from the authorization response from step 1:
### Polling best practices
- Poll at the interval specified in the authorization response (every 5 seconds)
- Respect `slow_down` errors by increasing your polling interval
- Stop polling when you receive `access_denied` or `expired_token` errors
- Implement a reasonable timeout to avoid infinite polling
## Connect
CLI Auth is available for [Connect](/authkit/connect/oauth) applications, allowing you and third-party developers to build CLI tools that integrate with your app's credentials.
The flow is the same but uses Connect endpoints:
- **Authorization**: `https:///oauth2/device_authorization`
- **Token**: `https:///oauth2/token`
Since command-line applications are distributed to end users, you should avoid embedding the client secret in the app. To make this work, set up your Connect app as a [_Public_ application](/authkit/connect/oauth/public-applications).
Third-party Connect applications will require users to [grant consent](/authkit/connect/oauth/first-party-vs-third-party-applications) to the third-party app.