# react-native-heat-map
A component for React Native that can be rendered on top or underneath your ``s with transparency. If you don't feel like using a native library, you might be interested in [react-native-simpleheat](https://github.com/cawfree/react-native-simpleheat).
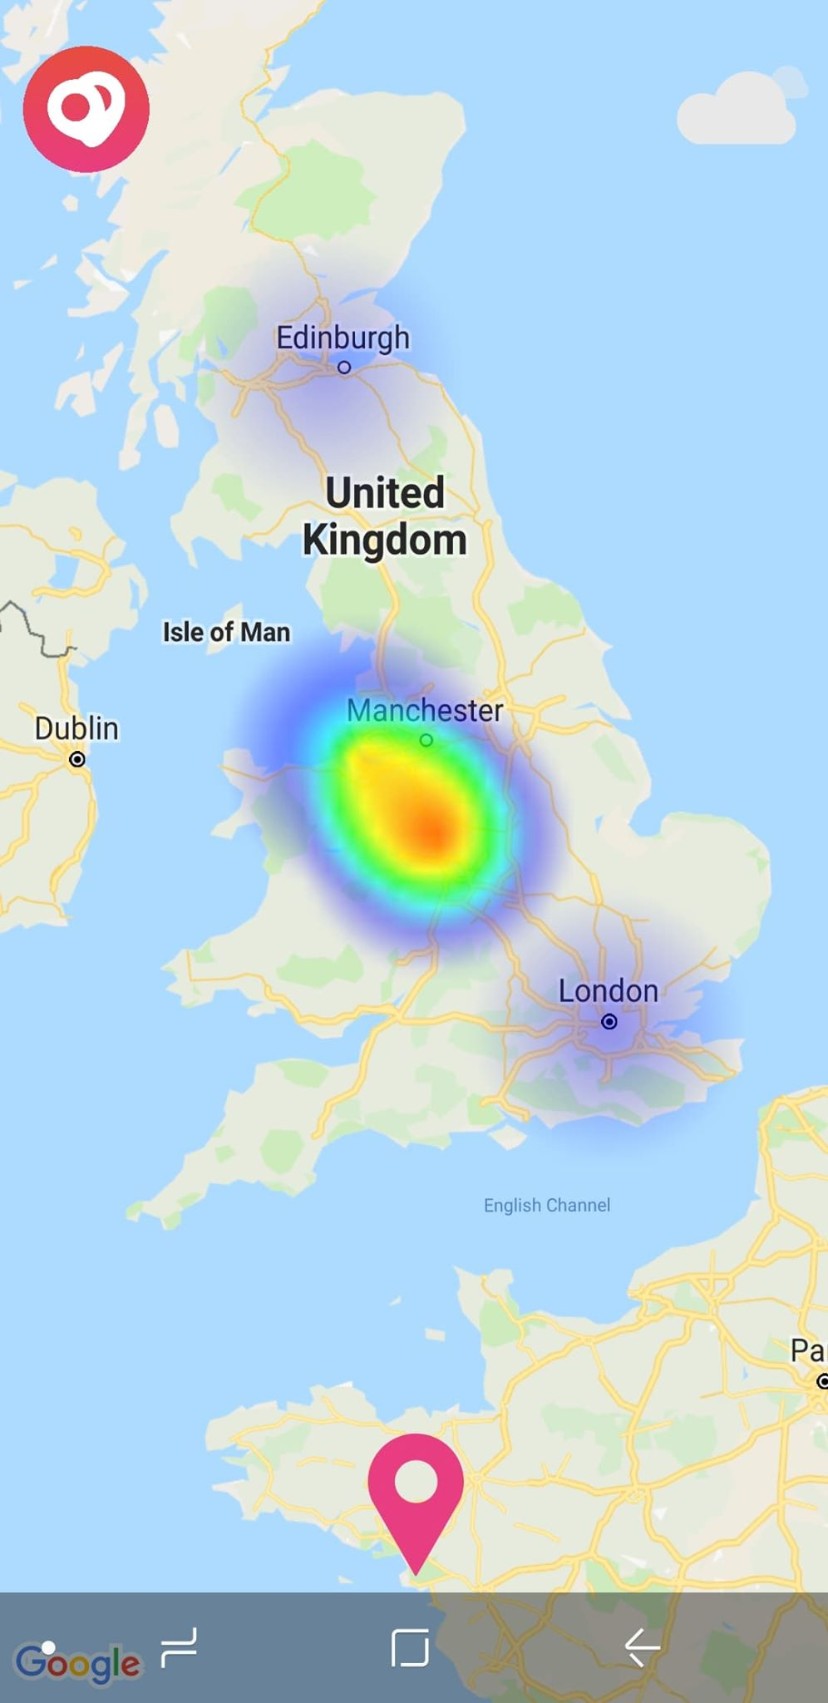
| Android |
iOS |
 |
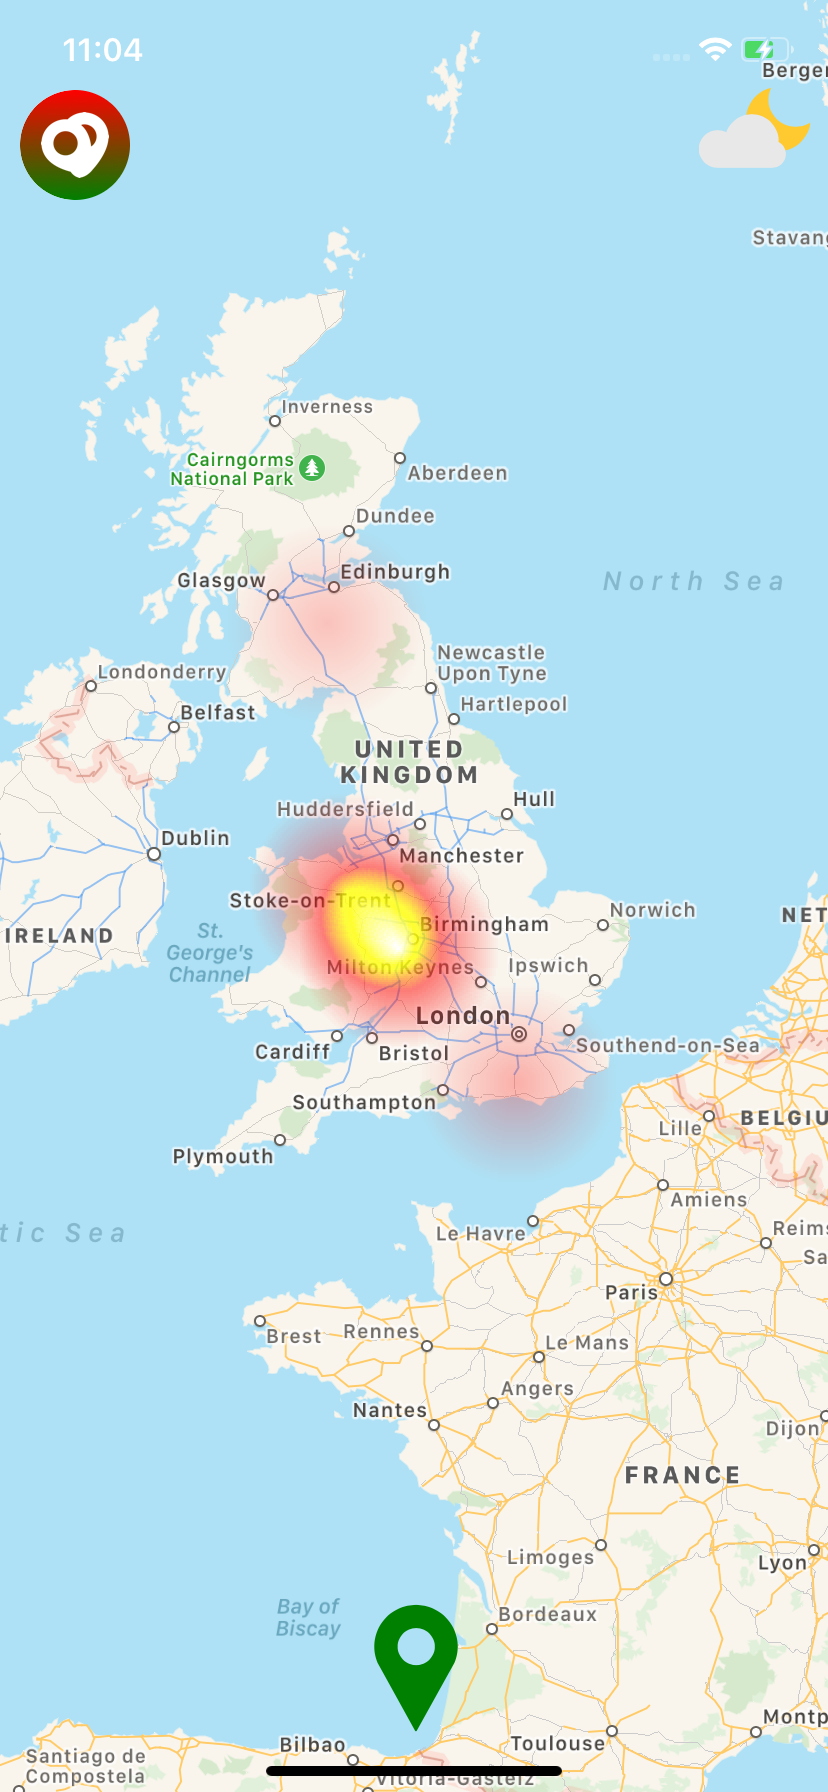 |
The native Android solution is implemented using [simpleheat](https://github.com/mourner/simpleheat) as the development reference. On iOS, the heatmap is presented using the performant [LFHeatMap](https://github.com/gpolak/LFHeatMap) as a CocoaPods dependeny. This is **not** a ``; but it can be overlaid one.
## 🚀 Getting started
Using [`npm`]():
```sh
$ npm install @cawfree/react-native-heat-map --save
```
Using [`yarn`]():
```sh
yarn add @cawfree/react-native-heat-map
```
### 🤖 Mostly automatic installation
If you're running `react-native` at any version less than `0.60.0`, you'll need to manually link the library to your project:
```sh
$ react-native link react-native-heat-map
```
### 🔩 Manual installation
#### iOS
1. In XCode, in the project navigator, right click `Libraries` ➜ `Add Files to [your project's name]`
2. Go to `node_modules` ➜ `react-native-heat-map` and add `HeatMap.xcodeproj`
3. In XCode, in the project navigator, select your project. Add `libHeatMap.a` to your project's `Build Phases` ➜ `Link Binary With Libraries`
4. Run your project (`Cmd+R`)<
#### Android
1. Open up `android/app/src/main/java/[...]/MainApplication.java`
- Add `import io.github.cawfree.HeatMapPackage;` to the imports at the top of the file
- Add `new HeatMapPackage()` to the list returned by the `getPackages()` method
2. Append the following lines to `android/settings.gradle`:
```
include ':react-native-heat-map'
project(':react-native-heat-map').projectDir = new File(rootProject.projectDir, '../node_modules/react-native-heat-map/android')
```
3. Insert the following lines inside the dependencies block in `android/app/build.gradle`:
```
compile project(':react-native-heat-map')
```
## ✍️ Example
There are two main modes the `` can operate in. You can either specify cartesian (2D) co-ordinates:
```javascript
import HeatMap from 'react-native-heat-map';
export default () => (
);
```
Alternatively, you can pass a [react-native-maps](https://github.com/react-native-community/react-native-maps)-compatible `region` prop to process your data through a [Web Mercator Projection](https://en.wikipedia.org/wiki/Web_Mercator_projection):
```javascript
import HeatMap from 'react-native-heat-map';
export default () => (
);
```
For performance, instead of using `setState` to update the ``, you can choose to [`setNativeProps`](https://facebook.github.io/react-native/docs/direct-manipulation) directly.
Check out the complete [example code](https://github.com/cawfree/react-native-heat-map/blob/master/example/App.js).
## 📌 Props
Prop | Type | Default | Required
--------------------- | -------- | ------------------------- | --------
max|number|10|No
data|array|[]|No
minOpacity|number|0.05|No
alpha|number|1.0|No
region|shape|null|No
## ✌️ License
[MIT](https://opensource.org/licenses/MIT)