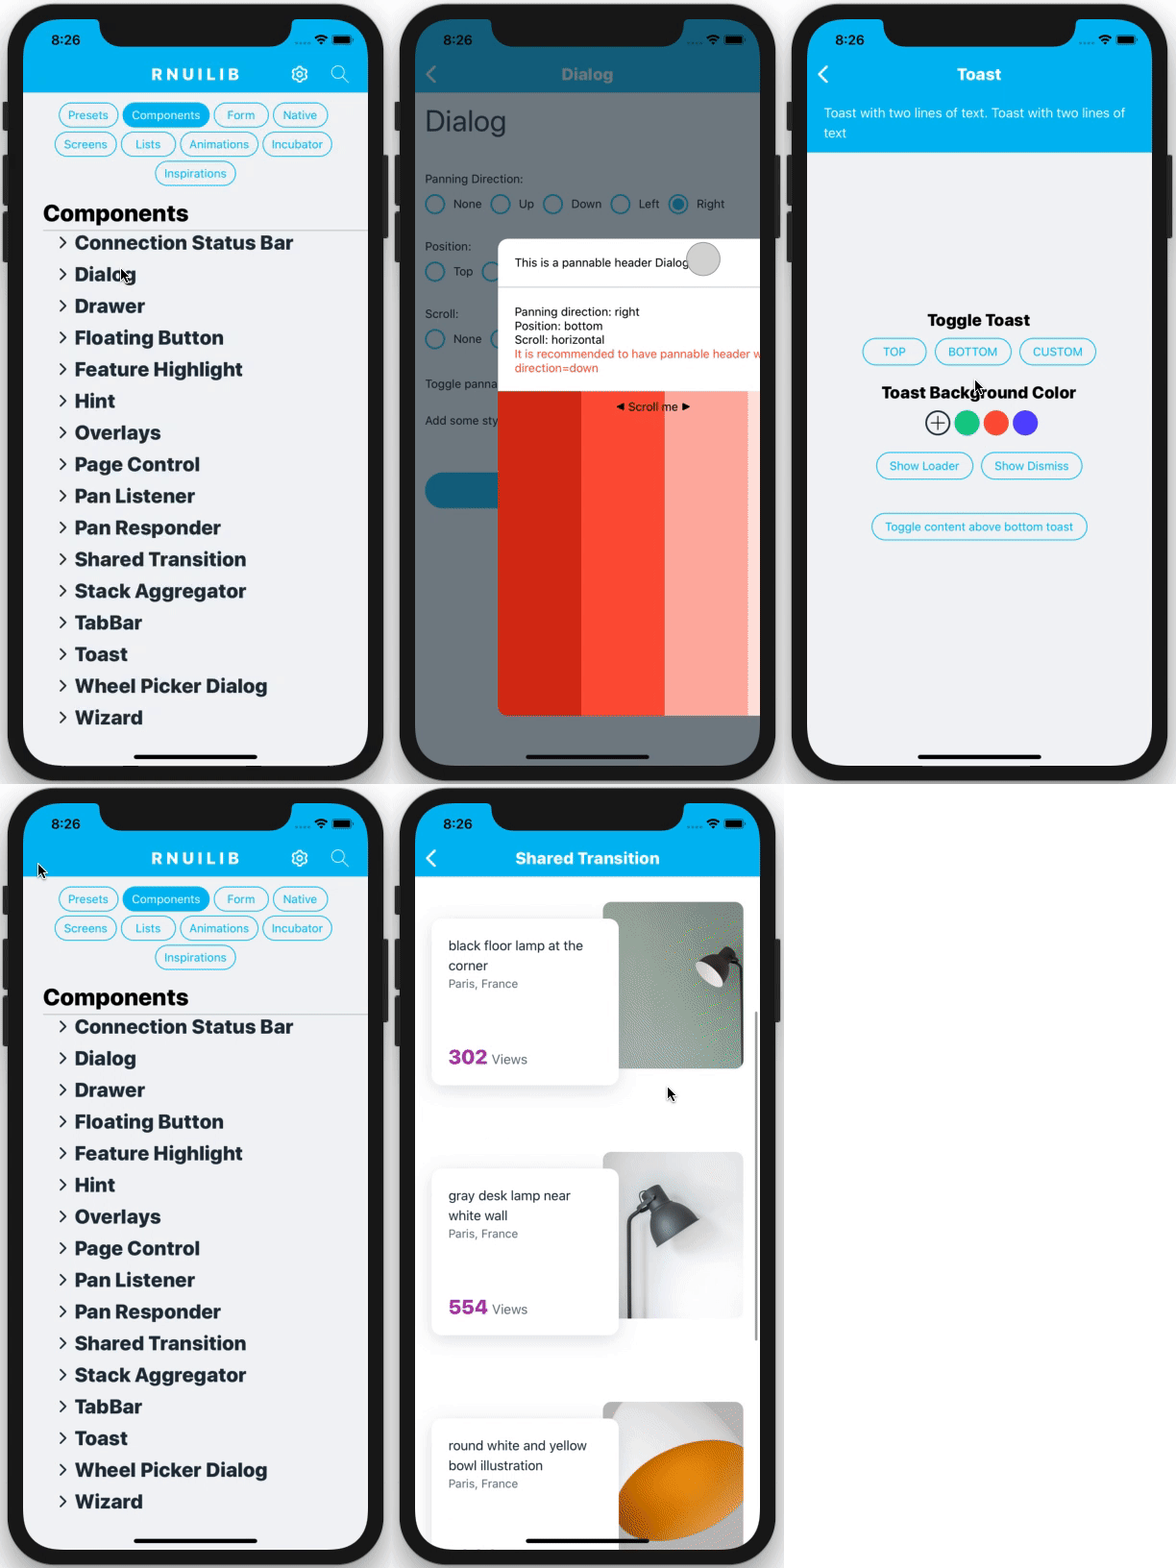
---
[](https://travis-ci.org/wix/react-native-ui-lib)
[](https://www.npmjs.com/package/react-native-ui-lib)
[](https://www.npmjs.com/package/react-native-ui-lib)
Read more in our [Wiki](https://github.com/wix/react-native-ui-lib/wiki).
Check out our [Docs](https://wix.github.io/react-native-ui-lib/).
Our [Discord Channel](https://discord.gg/2eW4g6Z)
Download our Expo demo app
(You will need the Expo App)
## Installing
See setup instructions [here](https://github.com/wix/react-native-ui-lib/wiki/SETUP).
#### New Major Version 5.0
See [breaking changes](https://github.com/wix/react-native-ui-lib/wiki/V5-%5BBreaking-Change%5D)
#### For React Native >= 0.60.0
please use `react-native-ui-lib`
#### For React Native < 0.60.0
please use `react-native-ui-lib@^3.0.0`
## Create your own Design System in 3 easy steps
### Step 1
Load your foundations and presets (colors, typography, spacings, etc...)
```
// FoundationConfig.js
import {Colors, Typography, Spacings} from 'react-native-ui-lib';
Colors.loadColors({
primaryColor: '#2364AA',
secondaryColor: '#81C3D7',
textColor: '##221D23',
errorColor: '#E63B2E',
successColor: '#ADC76F',
warnColor: '##FF963C'
});
Typography.loadTypographies({
heading: {fontSize: 36, fontWeight: '600'},
subheading: {fontSize: 28, fontWeight: '500'},
body: {fontSize: 18, fontWeight: '400'},
});
Spacings.loadSpacings({
page: 20,
card: 12,
gridGutter: 16
});
```
### Step 2
Set default configurations to your components
```
// ComponentsConfig.js
import {ThemeManager} from 'react-native-ui-lib';
// with plain object
ThemeManager.setComponentTheme('Card', {
borderRadius: 8
});
// with a dynamic function
ThemeManager.setComponentTheme('Button', (props, context) => {
// 'square' is not an original Button prop, but a custom prop that can
// be used to create different variations of buttons in your app
if (props.square) {
return {
borderRadius: 0
};
}
});
```
### Step 3
Use it all together.
Your configurations will be applied on uilib components so you can use them easily with [modifiers](https://github.com/wix/react-native-ui-lib/wiki/MODIFIERS).
```
// MyScreen.js
import React, {Component} from 'react';
import {View, Text, Card, Button} from 'react-native-ui-lib';
class MyScreen extends Component {
render() {
return (
My ScreenThis is an example card
);
}
}
```
# reactnative-ui