React Email Editor
Official React component for embedding Unlayer’s drag-and-drop email editor in your app.


---
## Introduction
Add a production-ready, drag-and-drop email builder to your React app with a single component. react-email-editor lets developers embed Unlayer, load and save designs, listen to editor events, customize configuration, and export responsive HTML.
Use it when you need email template creation inside your app without building and maintaining a full visual editor from scratch.
| Video Overview |
| :-------------------------------------------------------------------------------------------------------------------------------: |
| [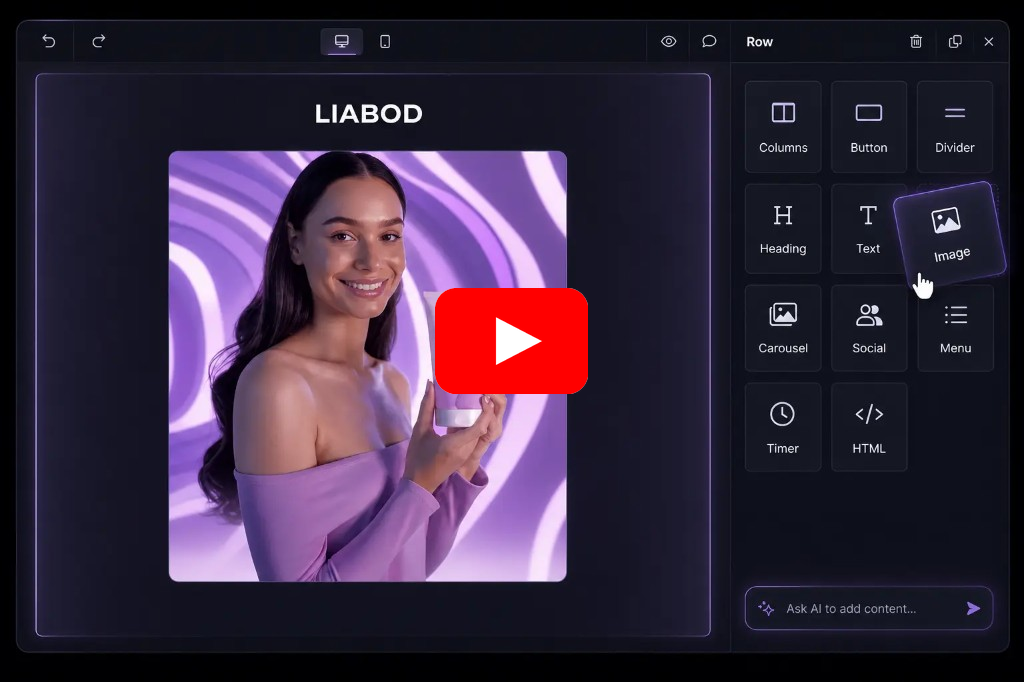](https://www.youtube.com/watch?v=qp9t74G4VyM) |
| _Watch video overview: https://youtu.be/qp9t74G4VyM_ |
## Live Demo
Check out the live demo here: https://react-email-editor-demo.netlify.app/ ([Source Code](https://github.com/unlayer/react-email-editor/tree/master/demo/src))
## Installation
The easiest way to use React Email Editor is to install it from NPM and include it in your own React build process.
```
npm install react-email-editor --save
```
## Usage
Require the EmailEditor component and render it with JSX:
```javascript
import React, { useRef } from 'react';
import { render } from 'react-dom';
import EmailEditor, { EditorRef, EmailEditorProps } from 'react-email-editor';
const App = (props) => {
const emailEditorRef = useRef(null);
const exportHtml = () => {
const unlayer = emailEditorRef.current?.editor;
unlayer?.exportHtml((data) => {
const { design, html } = data;
console.log('exportHtml', html);
});
};
const onReady: EmailEditorProps['onReady'] = (unlayer) => {
// editor is ready
// you can load your template here;
// the design json can be obtained by calling
// unlayer.loadDesign(callback) or unlayer.exportHtml(callback)
// const templateJson = { DESIGN JSON GOES HERE };
// unlayer.loadDesign(templateJson);
};
return (
);
};
render(, document.getElementById('app'));
```
See the [example source](https://github.com/unlayer/react-email-editor/blob/master/demo/src/example/index.tsx) for a reference implementation.
### Methods
All unlayer methods are available in the editor instance (`emailEditorRef.current.editor`). See the [Unlayer Docs](https://docs.unlayer.com/) for more information, or log the object in the console to explore it. Here are the most used ones:
| method | params | description |
| -------------- | ------------------- | ------------------------------------------------------- |
| **loadDesign** | `Object data` | Takes the design JSON and loads it in the editor |
| **saveDesign** | `Function callback` | Returns the design JSON in a callback function |
| **exportHtml** | `Function callback` | Returns the design HTML and JSON in a callback function |
### Properties
- `editorId` {`String`} HTML div id of the container where the editor will be embedded (optional)
- `minHeight` {`String`} minimum height to initialize the editor with (default 500px)
- `onLoad` {`Function`} called when the editor instance is created
- `onReady` {`Function`} called when the editor has finished loading
- `options` {`Object`} options passed to the Unlayer editor instance (default {})
- See the [Unlayer Docs](https://docs.unlayer.com/docs/getting-started#configuration-options) for all available options.
- `style` {`Object`} style object for the editor container (default {})
## Support
The email editor output is tested using the most popular email clients.
|  |
|  |
|  |
|  |
| -------------------------------------------------------------------------------------------------- | ------------------------------------------------------------------------------------------------------- | ------------------------------------------------------------------------------------------------------ | ------------------------------------------------------------------------------------------------------------- |
| Gmail ✔ | Apple Mail ✔ | Outlook ✔ | Yahoo! Mail ✔ |
## AI Assistant
Add AI-powered content creation to your embedded email editor.
Unlayer’s [AI Assistant](https://unlayer.com/ai) helps users generate, rewrite, translate, and improve email content directly inside the editor. Developers can enable AI features through the editor configuration, giving users a faster way to create polished emails without leaving your app.
## Custom Tools
Custom tools can help you add your own content blocks to the editor. Every application is different and needs different tools to reach it's full potential. [Learn More](https://docs.unlayer.com/docs/custom-tools)
[](https://docs.unlayer.com/docs/custom-tools)
## Localization
You can submit new language translations by creating a PR on this GitHub repo: https://github.com/unlayer/translations. Translations managed by [PhraseApp](https://phraseapp.com)
### License
Copyright (c) 2026 Unlayer. [MIT](LICENSE) Licensed.
|
| -------------------------------------------------------------------------------------------------- | ------------------------------------------------------------------------------------------------------- | ------------------------------------------------------------------------------------------------------ | ------------------------------------------------------------------------------------------------------------- |
| Gmail ✔ | Apple Mail ✔ | Outlook ✔ | Yahoo! Mail ✔ |
## AI Assistant
Add AI-powered content creation to your embedded email editor.
Unlayer’s [AI Assistant](https://unlayer.com/ai) helps users generate, rewrite, translate, and improve email content directly inside the editor. Developers can enable AI features through the editor configuration, giving users a faster way to create polished emails without leaving your app.
## Custom Tools
Custom tools can help you add your own content blocks to the editor. Every application is different and needs different tools to reach it's full potential. [Learn More](https://docs.unlayer.com/docs/custom-tools)
[](https://docs.unlayer.com/docs/custom-tools)
## Localization
You can submit new language translations by creating a PR on this GitHub repo: https://github.com/unlayer/translations. Translations managed by [PhraseApp](https://phraseapp.com)
### License
Copyright (c) 2026 Unlayer. [MIT](LICENSE) Licensed.