Trail

By moving the Trail object in virtual space, for example by attaching it to a traveling spaceship or any other moving object in your project, you can render a 3d trail.
You can use this object for ammunition tracers, tire-marks, continuous smoke trails, reference lines and so on.
Trail shape, colors, opacity, lifetime and smoothness are definable and some presets are included.
The trail emitter is an object you can place and orient visually in the Virtual Editor.

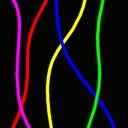
Click this button to select the trail segment aspect. You can make your own trail shapes as follows:
C:\3D Rad\3DRad_res\objects\Trail\Data\
folder.
C:\3D Rad\3DRad_res\objects\Trail\Data\Index\
folder. This image will be used to display your new shape in the Trail object's dialogs and make it selectable among the other shapes available.
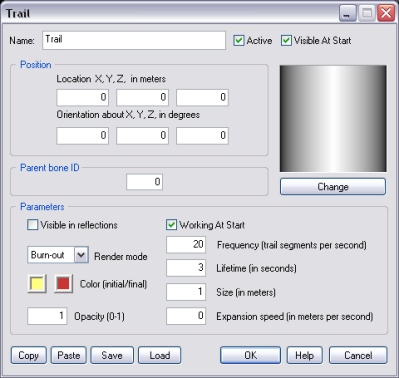
When this value is non-zero, and the Trail object is linked to a SkinMesh which is bone-animated, the trail emitter will be attached to the SkinMesh's bone defined by the specified bone ID.
The bone ID must be a positive, non-zero integer. The first bone in the model is 1, the second 2 and so on. What bone corresponds to a certain ID depends on how the animated model was originally designed.
Note: the position of the attached trail emitter is relative to the bone position when the animated model is in its initial pose. This may not be the default pose you see in the Virtual Editor. To see the initial pose of all animated SkinMesh objects in the scene, hold the [F] key pressed.
For information about the remaining controls, please click here.
The following internal parameters can be set by using objects like Script:
Trail source location on a fast moving/spinning parent object is calculated by a special prediction algorithm.
When the parent moves on a curved path, the exact position of the source in 3d space can be very complex to calculate accurately.
This may cause the trail source to appear slightly displaced at times.