---
title: Agent Development
description: Build, configure, and maintain CX Agent Studio agents with SCRAPI.
---
# Agent Development
Building a CX Agent Studio agent is an iterative process. You design the conversation flow, create the resources on the platform, pull them to your local machine, refine them in code, and push changes back. SCRAPI is designed to make every step of that loop fast and reliable.
This section covers everything you need to go from an empty project to a production-ready agent.
---
## The "create on platform, edit locally" principle
CX Agent Studio requires that new resources — apps, agents, tools — are registered on the platform before they can be used. You can't create an `instruction.txt` file on your laptop and expect the platform to know about it. The platform assigns resource IDs and validates the structure.
But editing resources *through* the platform UI or API one field at a time is tedious and error-prone, especially when you have complex instructions or Python callback code. That's where SCRAPI's workflow comes in:
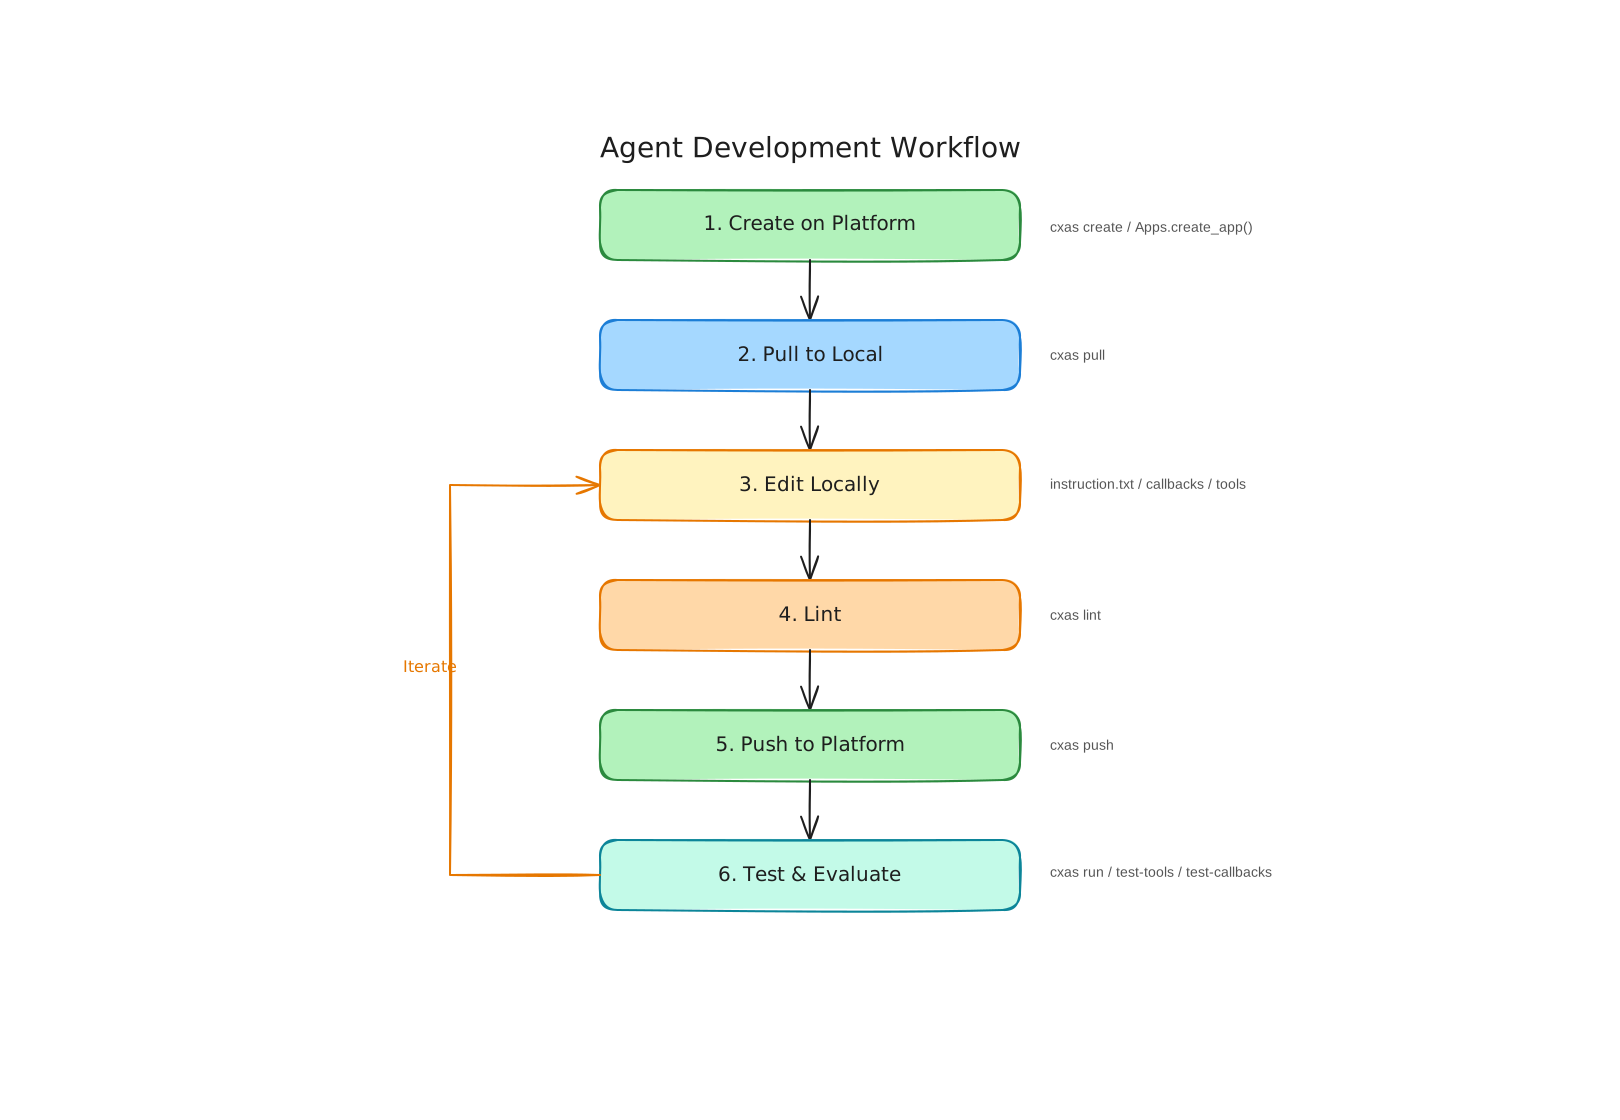
1. **Create** resources on the platform (via `cxas create` or the Python API)
2. **Pull** the full app down to a local directory (`cxas pull`)
3. **Edit** configuration, instruction text, and Python code in your favorite editor
4. **Lint** to catch mistakes before they reach the platform (`cxas lint`)
5. **Push** changes back (`cxas push`)
This workflow gives you the benefits of version control, code review, and local tooling — while still working within the platform's resource model.
---
## Local directory structure
After a `cxas pull`, your working directory looks like this:
```
cxas_app//
├── app.json # App-level configuration
├── agents/
│ └── /
│ ├── instruction.txt # The agent's natural language instructions
│ ├── .json # Agent configuration (tools, callbacks, etc.)
│ ├── before_model_callbacks/
│ │ └── /
│ │ └── python_code.py
│ ├── after_model_callbacks/
│ │ └── /
│ │ └── python_code.py
│ ├── before_tool_callbacks/
│ ├── after_tool_callbacks/
│ ├── before_agent_callbacks/
│ └── after_agent_callbacks/
├── tools/
│ └── /
│ ├── .json # Tool configuration
│ └── python_function/
│ └── python_code.py # Tool implementation
├── evaluations/ # Platform golden YAML files
└── guardrails/ # Guardrail configuration
```
Every file you see here corresponds directly to a resource on the CX Agent Studio platform. When you push, SCRAPI reads this structure and sends the appropriate API calls to update each resource.
---
## What's in this section
`Creating Agents`
: Step-by-step walkthrough of creating a new app, adding agents, configuring the root agent, and adding tools and callbacks — with both Python API and CLI examples.
`Managing Resources`
: How to work with Tools, Guardrails, Variables, Deployments, Versions, and Changelogs programmatically.
`Pull & Push Workflow`
: The detailed mechanics of pulling to local files, editing, and pushing back — including how to handle the `--to` flag and avoid conflicts.
`Branching Apps`
: How `cxas branch` lets you clone an app into a new one, enabling staging environments and safe experimentation.
`Team Collaboration`
: The recommended Git-backed workflow for multiple developers editing the same agent, plus how to promote changes from `main` to testing to production.
---
## Quick orientation
If you're starting fresh and want to get to a running agent quickly, here's the minimal path:
```bash
# 1. Create an app
cxas create "My App" --app-name my-app --project-id my-gcp-project --location us
# 2. Pull it locally
cxas pull "my-app" --project-id my-gcp-project --location us-central1
# 3. Edit the instruction
# (edit cxas_app/my-app/agents/root/instruction.txt)
# 4. Lint
cxas lint
# 5. Push
cxas push cxas_app/my-app
```
For a more complete walkthrough, start with [Creating Agents](creating-agents.md).